Installing Plugins (Getting Started)
- Copy Page Tree
- Ben Hoffman
- Dan Reynebeau
This section can be skipped if using the Community Edition(which automatically uploads all plugins) or you had already uploaded plugins after installing FlexDeploy.
The following plugins will be used within the Oracle ADF and SOA Suite workflows that are developed within this Getting Started Guide.
- Subversion Plugin or any other supported SCM
- Oracle JDeveloper Plugin
- Oracle SOA Suite Plugin
- Oracle Weblogic Plugin
Unless you are using the Community Edition of FlexDeploy, to utilize these plugins within workflows you must first download them from the Flexagon Support website and upload them to the FlexDeploy server.
The plugins can be downloaded from the Flexagon Support website under FlexDeploy -> Software Downloads. For the FlexDeploy Community Edition, the plugins are pre-installed.
To install the plugins, select Administration -> Plugins from the menu.
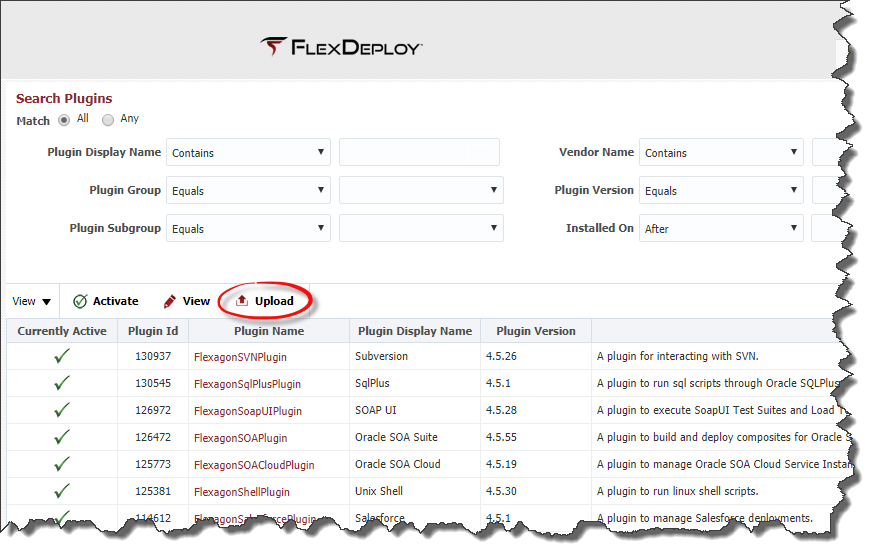
Click the Upload button to upload the SVN Plugin.
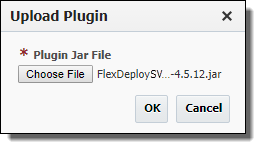
Click the Choose File button and browse to the location where the plugins were downloaded. Select the FlexDeploySVNPlugin-x.x.x.jar (where x.x.x is the current version of the plugin) and click the Open button. Click the OK button on the Upload Plugin dialog to complete the upload.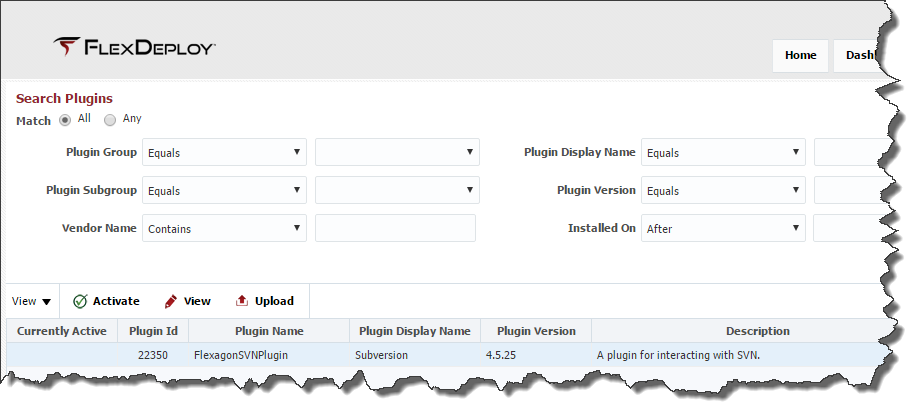
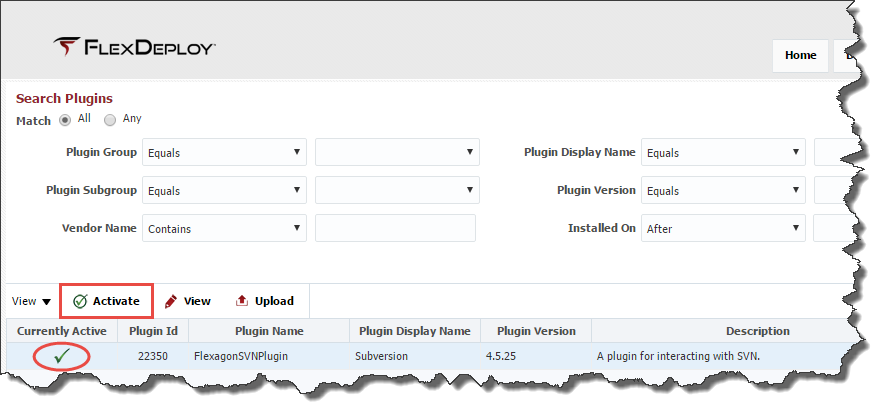
The plugin is now uploaded to the FlexDeploy server, but is inactive. To make it available for use you must select the plugin version you uploaded and click the Activate button.
Repeat these steps to upload the following plugins which are required to complete this Getting Started Guide.
Plugin |
|---|
FlexDeployJDeveloperPlugin-x.x.x.jar* |
FlexDeploySOAPlugin-x.x.x.jar* |
FlexDeployWeblogicPlugin-x.x.x.jar* |
FlexDeploySVNPlugin-x.x.x.jar* |
*Note: x.x.x is the current version of the plugin
- style