Creating a Workflow
- Copy Page Tree
- Dan Reynebeau
- Greg Draheim
Select Workflows from the menu. To create a new workflow, click the plus icon in the Workflows navigation tree. The grid icon will change the navigation tree to sorted flat view.
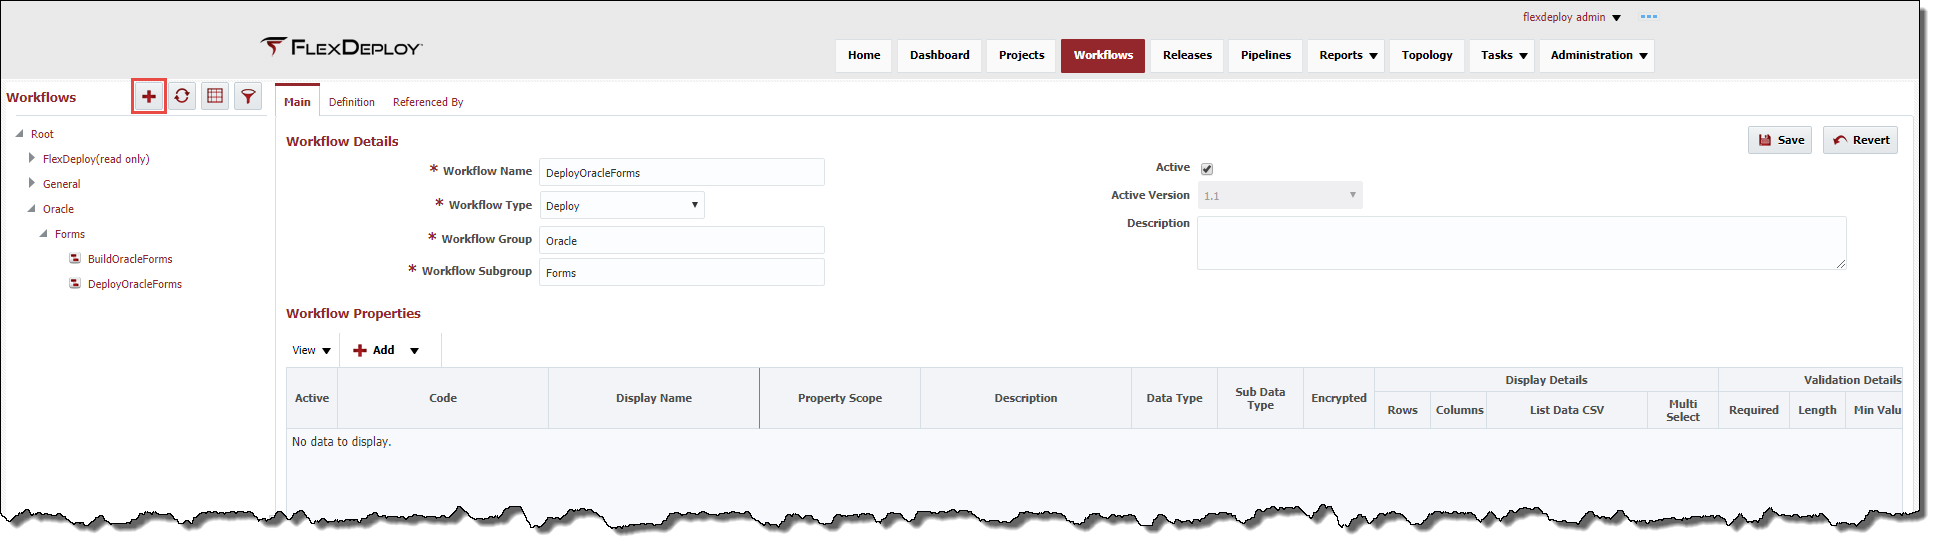
In the workflow editor, you will see two sections titled Workflow Details and Workflow Properties. The Workflow Details section provides the basic definition for the workflow, as described in the table below.
Field | Required | Description |
|---|---|---|
Workflow Name | Yes | The name of the workflow. |
Workflow Type | Yes | The type of workflow (Build, Deploy, Test Definition, Utility or Other). Other is reserved for workflows that will be invoked exclusively by parent workflows. |
Workflow Group | Yes | Used to categorize workflows into folders. |
Workflow Subgroup | Yes | Used to further categorize workflows into subfolders. |
Active Version | No | Indicates the active version of this workflow (read-only). |
Description | No | An optional description for the workflow. |
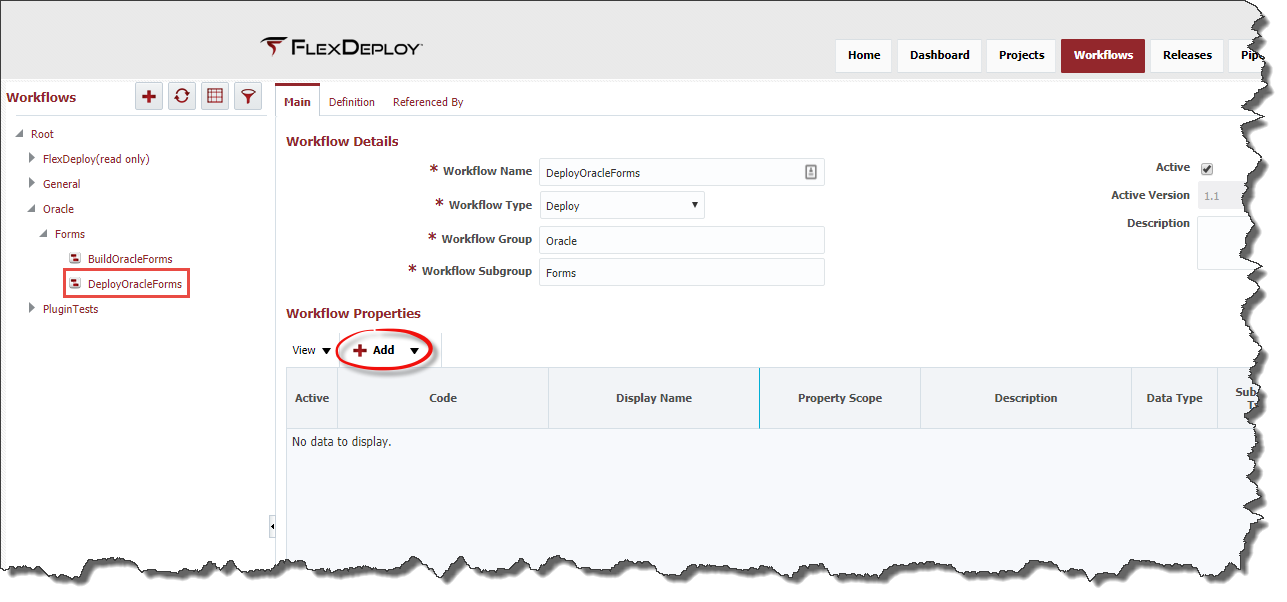
The Workflow Properties section provides the ability to add workflow scoped properties. These properties will then be available for setting values on either the referencing project or environment instance (depending on the selected scope). To create a new workflow property, click the Add button. There are two options, creating a New Property or sharing an Existing Property from another workflow.
Choosing Existing Property will display a popup with a drop down menu of available properties.
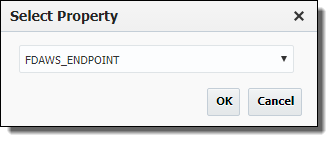
Selecting a property will add a read-only row to the table, populated with the data for that property.

Choosing New Property will produce an empty row on the table, populate the values using the table below.

Enter values for the workflow property as described in the table below.
Field | Required | Description |
|---|---|---|
Active | N/A | Property is always active, whether it is part of Workflow property list or not is what matters. |
Code | Yes | User-defined code that identifies this property, which is used in the workflow and/or plugin execution. |
| Display Name | No | Display name, which is used on the property pages, etc. |
Property Scope | Yes | Whether the property scope is Environment Instance or Project. Default is Environment Instance. |
Description | No | A description for the property. |
Data Type | Yes | The property's data type. Default is String. |
Sub Data Type | No | Allows the user to get additional validation for Directories, JDBC URLs, and URLs. |
Encrypted | No | Whether the property is encrypted or not. Encrypted property values will not display on the screen or be readable in any of the logs. Default is No. |
| Display Details | ||
Rows | No | Display attribute that defines the number of rows in the input field on the Property page. |
Columns | No | Display attribute that defines the number of columns in the input field on the Property page. |
List Data CSV | No | Allows the user to define a comma-separated list of values that will be displayed in the Workflow Request page. If given, a Drop-down component will be displayed on the Property page. |
Multi Select | No | Determines if multiple of the List Data CSV values can be selected. |
| Validation Details | ||
Required | No | Whether the Property is required or not. Defaults to No. |
Length | No | For String data type, this controls length of value being entered. |
Min Value | No | User can control the minimum value for data types such as Integer, Float, Double and Long. |
Max Value | No | User can control the maximum value for data types such as Integer, Float, Double and Long. |
Default Value | No | Default value can be entered as Groovy script or literal. When using Groovy script, following Groovy variables are available:
|
Validation Groovy Script | No | Enter Groovy script to define validation for property value. The script should return true or false to indicate validation success or failure.
|
Updated By | N/A | The user who last updated the property (read-only). |
Updated On | N/A | The date/time in which the property was last updated (read-only). |
| Actions | N/A | Contains the icon to remove the property. |
Click the Save button to save the changes. Note that the Definition tab is now enabled. Click the Definition tab to begin modelling the workflow, which is covered in detail in subsequent sections.
Once finished configuring the workflow definition click the Save button to save the changes. To activate the workflow version, making it the live version upon execution, click the Activate button. Note that once you activate a workflow version it is locked from any further edits. To make changes you will first need to create a new version by clicking the Make Copy button.
Workflow Variables
A workflow variable is transient to a workflow execution, and is used to hold any required intermediate state. Example usages for workflow variables include loop counters, assigning error codes, or holding the value of a plugin output. Note these are available within the workflow only, and are not available for use by plugins.
To access the workflow variables, click the  button in workflow definition toolbar. Click the Create button to create a variable.
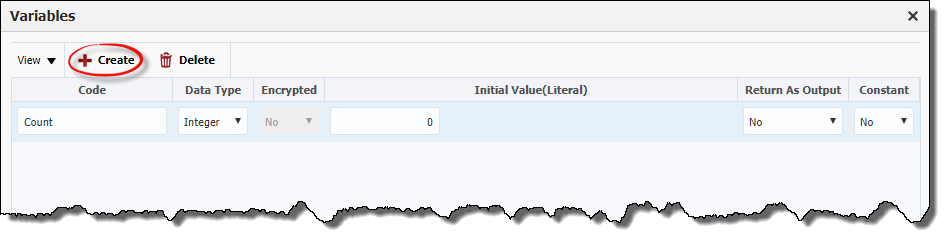
Enter values as described in the table below.
Field | Required | Description |
|---|---|---|
Code | Yes | The name of the workflow variable. |
Data Type | Yes | The data type of the workflow variable. |
| Encrypted | Yes | Whether the variable is encrypted or not. Encrypted variables values will not display on the screen or be readable in any of the logs. Default is No. |
Initial Value | No | An optional default initial value for the workflow variable. |
Return as Output | Yes | Indicates whether the value of this variable should be returned as an output. Used exclusively by child workflows to return a value to its parent. Default is No. |
Constant | Yes | If a variable is marked as constant its value cannot be changed. Any attempt to set the value of a constant variable will result in an error. |
To delete a workflow variable, select an existing variable and click the Delete button.
Workflow Inputs
A Workflow Input is used to pass user defined data into a workflow. When a workflow request is submitted by a user they will be prompted to enter values for the configured inputs. If a workflow is invoked by a parent workflow the values for the inputs must be configured at development time. An example usage for a workflow input would be allowing the user or parent workflow to specify the branch or tag to use for an SCM operation. Note these are available within the workflow only, and are not available for use by plugins.
To access the workflow inputs, click the  button in workflow definition toolbar. Click the Create button to create a new input.
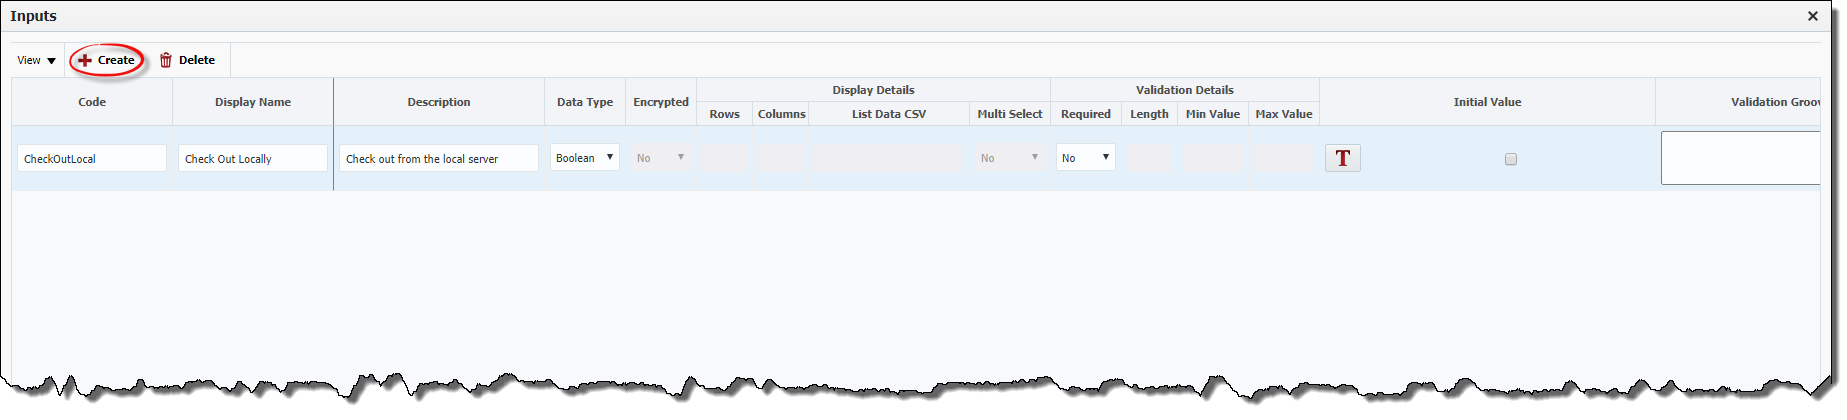
Enter values as described in table below.
Field | Required | Description |
|---|---|---|
Code | Yes | User-defined code that identifies this input, which is used in the workflow. |
| Display Name | No | Display name . |
| Description | No | A description for the input. |
Data Type | Yes | The data type of the workflow input. |
| Encrypted | Yes | Whether the input is encrypted or not. Encrypted input values will not display on the screen or be readable in any of the logs. Default is No. |
| Display Details | ||
Rows | Display attribute that defines the number of rows in the input field on the Property page. | |
Columns | Display attribute that defines the number of columns in the input field on the Property page. | |
List Data CSV | Allows the user to define a comma-separated list of values that will be displayed in the Workflow Request page. If given, a Dropdown component will be displayed on the Property page. | |
MultiSelect | Determines if multiple of the List Data CSV values can be selected. | |
| Validation Details | ||
Required | Whether the Property is required or not. Defaults to No. | |
Length | For String data type, this controls length of value being entered. | |
Min Value | User can control the minimum value for data types such as Integer, Float, Double and Long. | |
Max Value | User can control the maximum value for data types such as Integer, Float, Double and Long. | |
Initial Value | No | An optional default initial value for the workflow input. |
Validation Groovy Script | No | Enter Groovy script to define validation for the input. The script should return true or false to indicate validation success or failure. See an example. |
To delete a workflow input, select an existing input and click the Delete button.
Workflow Steps
The workflow editor provides a drag-n-drop interface for constructing build and deploy processes, which can be composed of plugin operations, other sub-workflows, and basic workflow operations such and variable assignments, conditionals, and looping constructs.
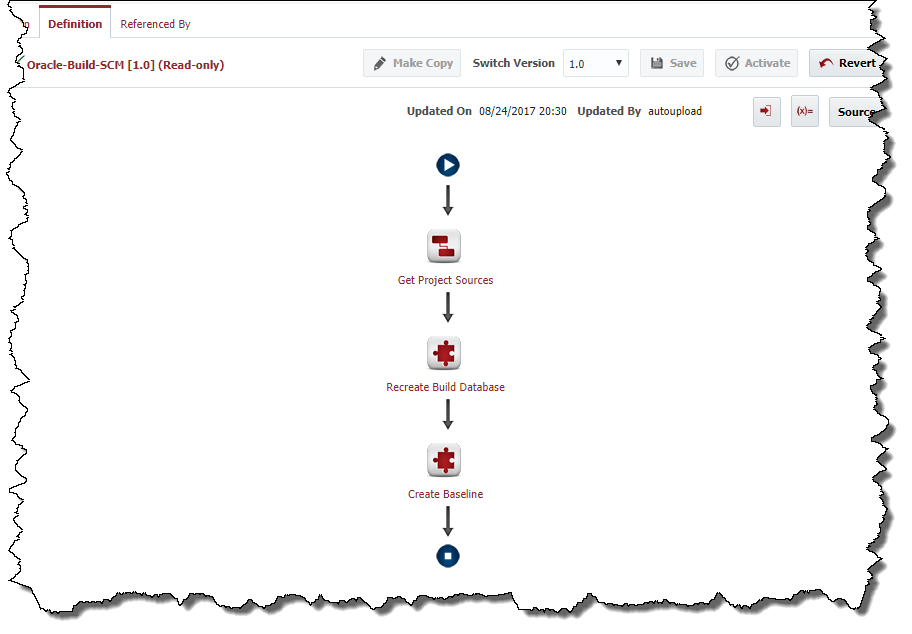
The main workflow editor is displayed in the center of the screen. The FlexDeploy workflows are available in the Workflows navigation tree on the left. The basic Workflow Operations are available in the upper right-hand pane. The available Plugin Operations are available on the lower right-hand pane.
To add a new step to the workflow, drag a workflow or plugin operation onto the workflow editor and drop it on the arrow located between the two steps where you want to place it. Configure the fields in the subsequent workflow step editor and click the OK button to save. See subsequent sections for specific instructions pertaining to each workflow operation type.
Lookup Script Variables
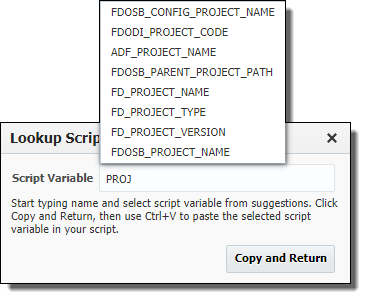
Many workflow steps allow the user to enter expressions, often these expressions require using varibles, inputs or properties, but it can be difficult to remember the exact variable, input ot property. Just click on the Lookup Script Variables icon:
The following window will open. As you type the script variable, it will filter the entire list of available inputs, properties, and variables to only those that contain the string you entered. Select one variable from suggestions. Press the Copy and Return button to make the variable name be available to paste (Ctrl + V) into the expression.
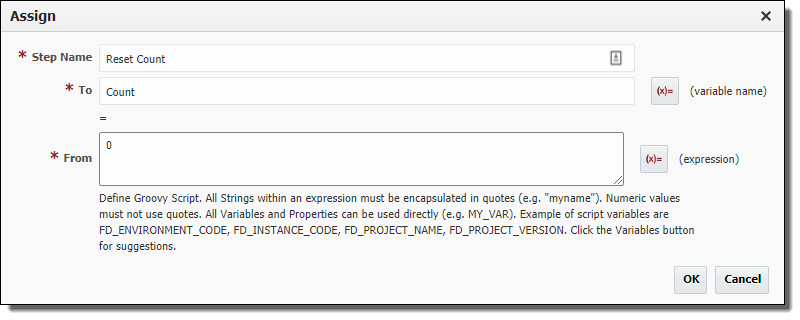
Assign
The Assign step provides the ability to assign a value to a workflow variable. Drag the Assign workflow operation onto the workflow editor, and configure its parameters as depicted in the table below.
Field | Required | Description |
|---|---|---|
Step Name | Yes | The display name of the step to appear in the workflow editor. |
To (left operand) | Yes | The workflow variable to assign a value to. |
From (right operand) | Yes | The value of an assignment can be one of the following:
|
1 Properties from another instance can be qualified by using instance code followed by a "_", prior to the property name (e.g. INST1_MY_PROPERTY).
2 Groovy Script expressions may include variables, inputs, or properties as defined above (e.g. FName + ' ' + LName).
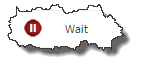
Wait
The Wait step provides the ability to halt the workflow for the specified number of milliseconds. Drag the Wait workflow operation onto the workflow editor, and configure its parameters as depicted in the table below.
Field | Required | Description |
|---|---|---|
Step Name | Yes | The display name of the step to appear in the workflow editor. |
Milliseconds | Yes | The number of milliseconds to halt the workflow for. |
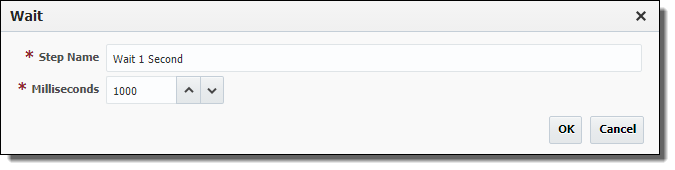
RaiseFault
The RaiseFault step provides the ability to force a failure within the workflow. This can be useful when validating some condition and forcing a failure if that condition is not met. Drag the RaiseFault workflow operation onto the workflow editor, and configure its parameters as depicted in the table below.

Field | Required | Description |
|---|---|---|
Step Name | Yes | The display name of the step to appear in the workflow editor. |
Fault Name | Yes | The name of the Fault to appear in the logs. |
Fault Details | Yes | Additional details to display in the logs. |
InvokeWorkflow
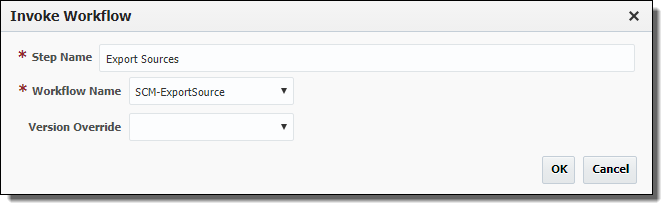
The InvokeWorkflow step provides the ability to invoke a child workflow. This can be useful when identifying commonality you wish to share across many workflows. Drag the InvokeWorkflow workflow operation onto the workflow editor, and configure its parameters as depicted in the table below.
Field | Required | Description |
|---|---|---|
Step Name | Yes | The display name of the step to appear in the workflow editor. |
Workflow Name | Yes | The name of the workflow to invoke. |
Version Override | No | The version of the workflow to invoke. Defaults to the active version. |
InvokePlugin
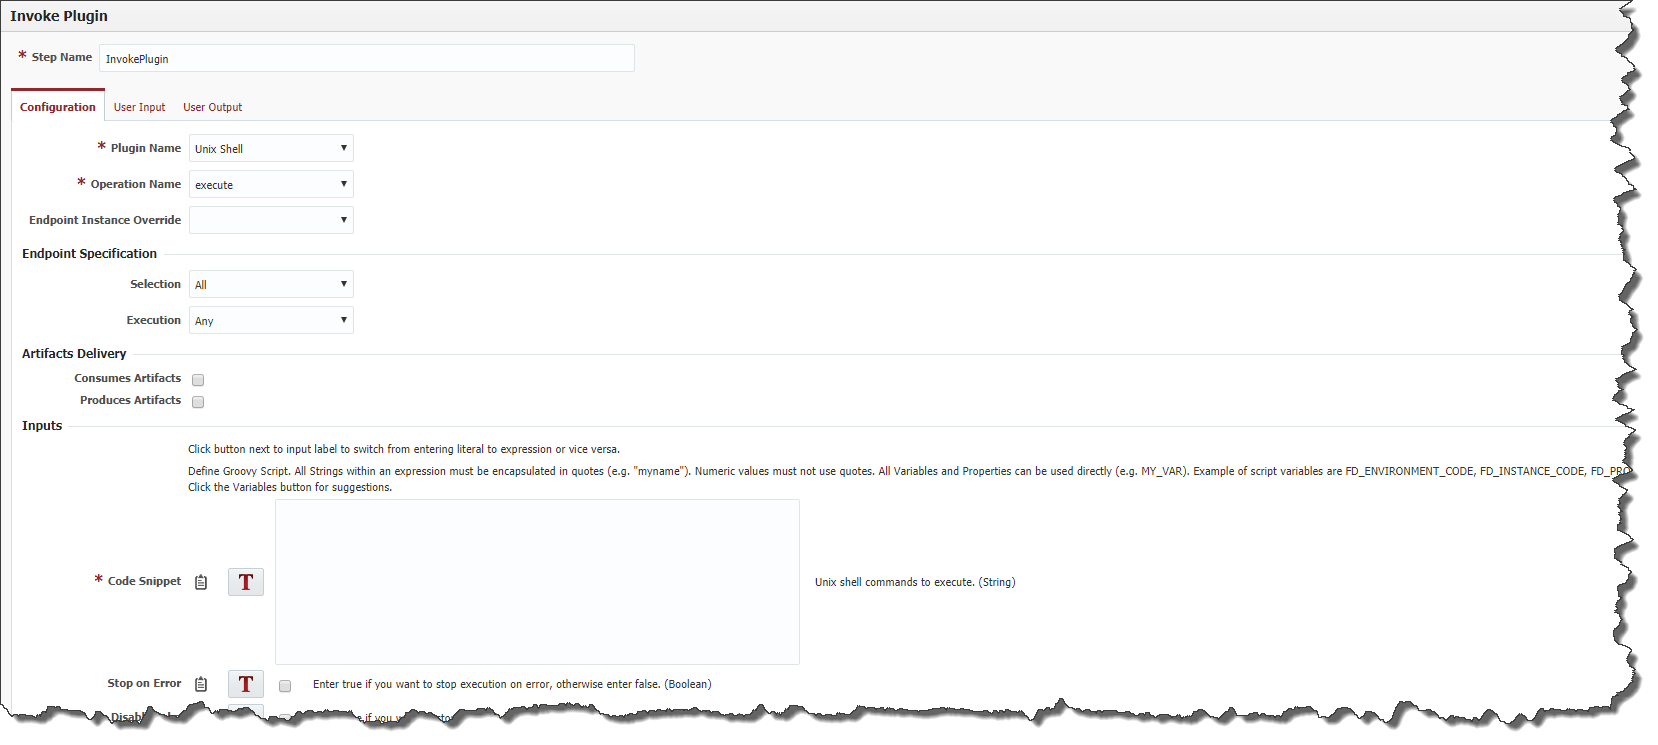
The InvokePlugin step provides the ability to invoke plugin operations. Drag the InvokePlugin workflow operation onto the workflow editor, and configure its parameters as depicted in the table below.
Field | Required | Description |
|---|---|---|
Step Name | Yes | The display name of the step to appear in the workflow editor. |
Plugin Name | Yes | The name of the plugin to invoke. |
Operation Name | Yes | The name of the operation within the plugin to invoke. |
Endpoint Instance Override | No | Allows you to override the instance the plugin operation will execute on. Defaults to the instance specified at build/deployment time. |
Endpoint Specification – Selection | Depends | Identifies endpoints associated to environment instance that would be eligible to execute this plugin operation. Defaults to "All". Only applicable if this property is delegated to workflow developer by the plugin. |
Endpoint Specification – Execution | Depends | Identifies which endpoints would be eligible to execute this plugin operation at run time. Defaults to "Any". Only applicable if this property is delegated to workflow developer by the plugin. |
Artifacts Delivery | Depends | Allows plugin to either create or utilize artifacts. Defaults both to "No". Only applicable if this property is delegated to workflow developer by the plugin. |
Inputs | Yes | The plugin operation can have zero to many inputs, for which values must be configured. See FlexDeploy Plugin Guides for specific information pertaining to each plugin. |
Some plugin operations, such as the execute operation on the Shell and Windows Shell plugins (See Plugin Guide for complete details), allow the definition of user defined inputs and outputs. User defined inputs and outputs allow the workflow developer to define which inputs flow into the plugin operation and which outputs are returned from the operation. Once defined the invoke plugin step can make use of the defined inputs and must return the defined outputs. When applicable User Input and User Output tabs will be present.
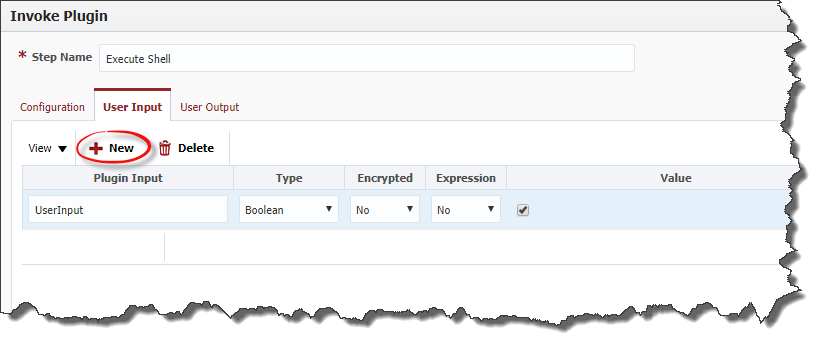
To create a new input, click the New button under the User Inputs section and enter values for the fields described in the table below.
Field | Required | Description |
|---|---|---|
Plugin Input | Yes | The name of the user input. |
Type | Yes | The data type of the user input. Default is "String". |
Is Expression | Yes | Indicates that the Value field contains a Groovy Script expression. |
Value | Yes | The value of the user input. |
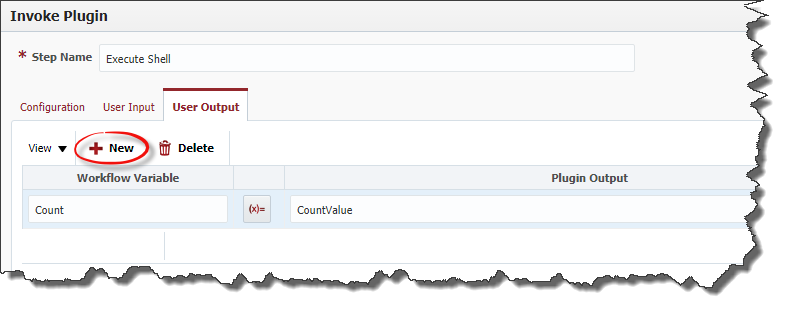
To create a new output, click the New button under the User Outputs section and enter values for the fields described in the table below.
Field | Required | Description |
|---|---|---|
Workflow Variable | Yes | The name of the workflow variable in which to assign the value of the output to upon completion of the plugin execution. |
Plugin Output | Yes | The name of the plugin output. |
To delete a User Input or User Output select the object you wish to delete and click the associated Delete button.
A shortcut to using the generic InvokePlugin workflow operation is to drag the specific plugin operation you want to invoke from the Plugin Operations pane in the lower-right-hand side onto the workflow editor. In this case the Plugin Name and Plugin Operation will be pre-selected.
InvokeTest
The InvokeTest step provides the ability to invoke a group of tests as defined by the strategy for that environment, instance, and stream. This group can be subsetted by specifying specific Test Type, Test Set, and/or Test Definition. Drag the InvokeTest workflow operation onto the workflow editor, and configure its parameters as depicted in the table below.

Field | Required | Description |
|---|---|---|
Step Name | Yes | The display name of the step to appear in the workflow editor. |
Test Type | No | This restricts the tests to be executed within the matching strategy to match this test type. |
Test Set Name | No | This restricts the tests to be executed within the matching strategy and test type to match this Test Set name. |
Test Definition Name | No | This restricts the tests to be executed within the matching strategy, test type and Test Set Name to match this Test Definition name. |
TestResultsOutput | No | This will set the result of the overall Test run in the specified Boolean output variable as true if the test passed, otherwise false. |
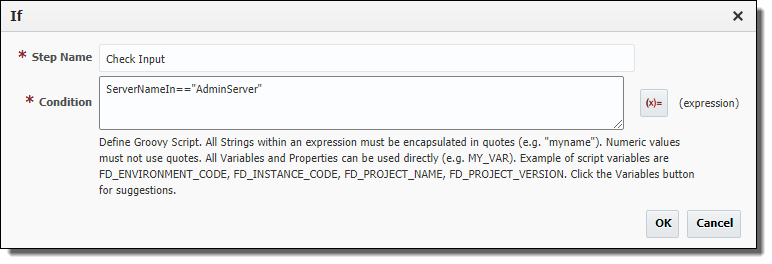
If
The If step provides the ability to conditionally invoke other steps. Drag the If workflow operation onto the workflow editor, and configure its parameters as depicted in the table below.

Field | Required | Description |
|---|---|---|
Step Name | Yes | The display name of the step to appear in the workflow editor. |
Condition | Yes | An expression evaluating whether the embedded workflow steps should be executed or not. The condition can reference variables, inputs, or properties using Groovy Script notation1,2. |
1All references to variables, inputs, or properties are done with just the variable name (e.g. MY_VARIABLE).
2 Properties from another instance can be qualified by using instance code followed by a '_', prior to the property name (e.g. INST1_MY_PROPERTY).
You can add one or more Else If conditions to the If workflow operation by clicking the Else If button. Similarly, you can add an Else condition to the If workflow operation by click the Else button. You can then drag other workflow operations or plugin operations inside of the If/Else blocks of the If workflow operation.
To edit the If condition portion either click on the  icon for the If workflow operation, or click on the
  icon in the upper-right-hand side of the first condition block. To edit an Else If condition click on the icon in the upper-right-hand side of the condition block.
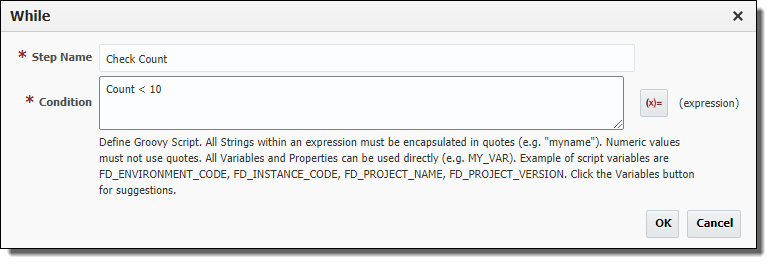
While
The While step provides the ability to loop through the execution of other steps. Drag the While workflow operation onto the workflow editor, and configure its parameters as depicted in the table below.

Field | Required | Description |
|---|---|---|
Step Name | Yes | The display name of the step to appear in the workflow editor. |
Condition | Yes | An expression evaluating whether a loop iteration should be executed1,2. The expression must return a boolean true or false. |
1All references to variables, inputs, or properties are done with just the variable name (e.g. MY_VARIABLE).
2 Properties from another instance can be qualified by using instance code followed by a "_", prior to the property name (e.g. INST1_MY_PROPERTY).
You can drag other workflow operations or plugin operations inside of the While block. To edit the While, condition click on the  icon for the workflow operation.
Make sure you update a variable being evaluated in your While condition within your loop in order to avoid an infinite loop situation.
Deleting a Workflow Step
To delete a workflow step, right-click on the step and select Delete. Click the OK button on the Delete Confirmation dialog to confirm.
Related content
- style