- style
FlexDeploy Community Edition Installation
This guide is for the Windows Quick Start Edition Only.
Installation pre-requisites
- A windows laptop/desktop or windows server
- If the computer has a previous release of FlexDeploy installed, the installer will uninstall that version, install the new version and perform the database schema upgrade.
- After installing new version, you may delete the old FlexDeploy software directory.
- To perform a new install of FlexDeploy, uninstall the previous version, remove the previous version directory, and drop the FF, FD, and FD_ADMIN schemas in the Oracle XE databases. The installer will then perform a new install.
- To uninstall any version of FlexDeploy, double click on the "unins000.exe" application in the install location of that version of the software.
- Knowledge of the directory path, TNS listener port, and system password is required to access the existing version of Oracle XE.
- Port 8000 should be free so that the FlexDeploy server can start. Otherwise the port number can be changed in the configuration files.
- Download FDsetup.exe from the Flexagon Dropbox site
- The installer will ask where to install of the FlexDeploy software. Currently, this directory cannot contain spaces in the name. The remainder of this document will refer to this directory as %INSTALL_LOCATION%.
Installation Instructions
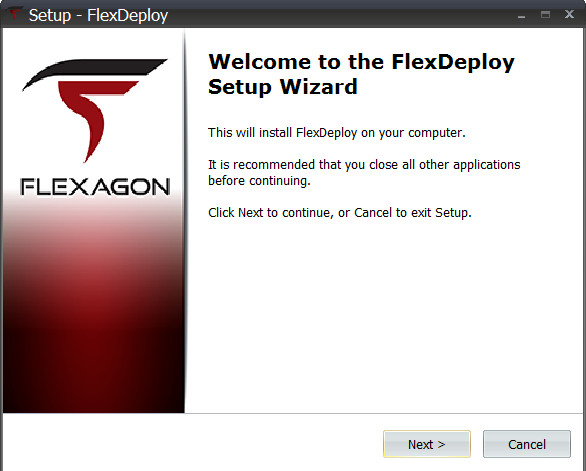
Run the FDsetup.exe file, reading all instructions and questions in the setup wizard carefully as to install FlexDeploy correctly.
After the completion of this setup, the Tomcat server is available with FlexDeploy running. Enter the following URL into a browser.
http://localhost:8000/flexdeploy/
For further information regarding FlexDeploy and getting started, refer to the FlexDeploy Getting Started Guide.
Installation Details
| FlexDeploy user | fdadmin |
|---|---|
| FlexDeploy password | welcome1 |
| Oracle XE | Installed by user |
| Oracle XE user | system |
| Oracle XE password | User defined |
| Oracle XE port | User defined (normally 1521 by default) |
| Tomcat | %INSTALL_LOCATION%\tomcat |
| Tomcat logs | %INSTALL_LOCATION%\tomcat\logs |
| Tomcat start | FlexDeploy-x.x (Start Server) icon in start menu (x.x is current version of FlexDeploy) |
| Tomcat stop | FlexDeploy-x.x (Stop Server) icon in start menu (x.x is current version of FlexDeploy) |
| FlexDeploy login page | http://localhost:8000/flexdeploy |
| JDK1.7.0_67 | %INSTALL_LOCATION%\java |
| Install Logs | %INSTALL_LOCATION%\install.log |
| FlexDeploy Install Root | %INSTALL_LOCATION%\application |
| Uploaded Plugins | %INSTALL_LOCATION%\application\uploadedplugins |
| Artifact Repository | %INSTALL_LOCATION%\repository |
Debug Information
Information for each step of the FlexDeploy installation gets redirected to the install logs for reference and debugging if needed.
If the installation fails after the validation step (#1), and the install.log file has the message “FlexDeploy already exists on file system”, perform the following steps in order (x.x is current version of FlexDeploy):
- Make sure that the %INSTALL_LOCATION% directory doesn’t exist on the laptop/desktop/server. This is a pre-requisite stated above.
- Drop the FF, FD, and FD_ADMIN users from the Oracle XE database
- Uninstall FlexDeploy-x.x from laptop/desktop/server
- Delete \FlexDeploy-x.x directory, including all subdirectories
If the installation fails at any point after the installing the database objects step (#3), then perform the following steps in order:
- Check the install.log file for information on the installation problem
- Drop the FF, FD, and FD_ADMIN users from the Oracle XE database
- Uninstall FlexDeploy-x.x from laptop/desktop/server
- Delete remaining FlexDeploy-x.x directory and all sub-directories
- Retry installation of FlexDeploy-x.x after adjustments for error in install logs are made
If you need to restart the FlexDeploy server, go to your start menu and find FlexDeploy in your installed programs/applications, and perform the following steps:
- Click ‘FlexDeploy-x.x (Stop Server)’ icon
- Click ‘FlexDeploy-x.x (Start Server)’ icon
Related content
- style
