Integrations
An Integration represents an external technology instance integrated into FlexDeploy that is running in one or more Environments.
There are 5 types of Integrations:
- Source Control (Source Code Management) Instances - represent a source code management system such as Subversion, Git, TFS, CVS, etc. Holds properties necessary to authenticate. The paths to specific projects in the SCM are contained in the project instead so that the Instance can be used across many projects.
- Testing Instances - represent a software test tool. Holds properties necessary to run tests, and allows the properties to be used wherever the test is run.
- Issue Tracking System Instances - represent an Issue Tracking System. Currently JIRA and Redmine are supported out-of-box, and custom systems can be created. The settings on this Instance allow FlexDeploy to authenticate and manage tickets in the issue tracking system.
- Change Management System Instances - represent a Change Management System. ServiceNow, Freshservice, and BMC Helix Remedyforce are supported out-of-box, and custom systems can be created. The configuration of this instance allows FlexDeploy to maintain change tickets in the change management system.
- Cloud - represents various cloud accounts and providers. Currently AWS, Azure, OCI, and OIC providers are supported. The settings on this instance will allow FlexDeploy to access various cloud accounts setup for the providers from workflow plugin operations.
Viewing Integrations
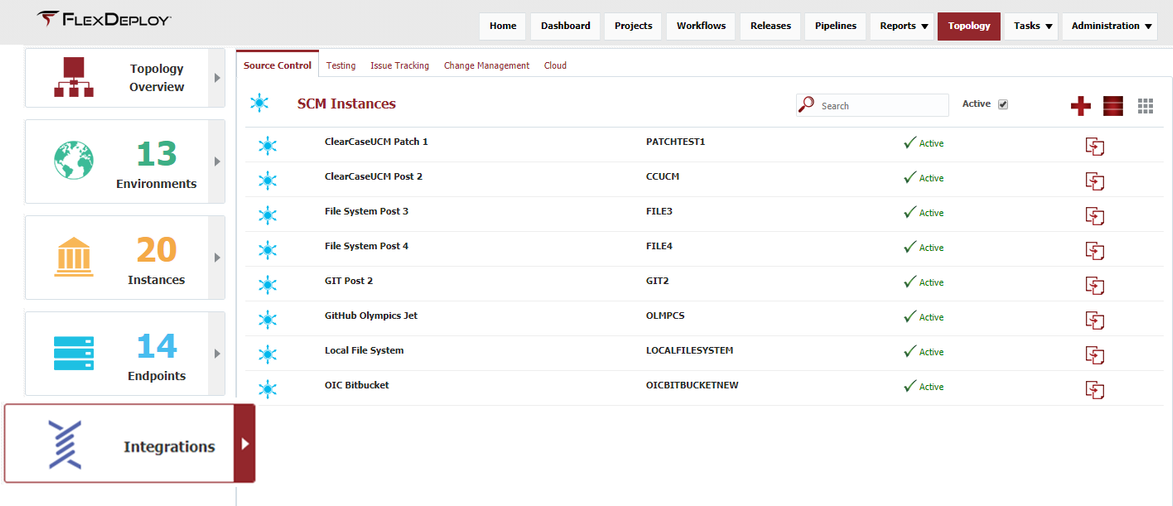
To view the list of Integrations defined within FlexDeploy, select the Topology from the menu and choose the Integrations tab.
By default, all active Integration instances are displayed in the search results. To refine the search results, type all or part of the Integration instance name into the Search box, and the list will automatically filter. Select the Active checkbox to show the inactive Integration instances as well.
Creating or Editing Integrations
Each Integration type has slightly different configuration requirements. The following links will assist in setting up Integrations.
- Creating/Editing an SCM Integration
- Creating/Editing a Test Integration
- Creating/Editing an Issue Tracking Integration
- Creating/Editing a Change Management Integration
- Creating/Editing a Cloud Account and Provider
Inactivating/Activating Integrations
To inactivate an Integration instance at any time, click the Active link on the desired Integration instance, and it will toggle to Inactive. This will hide that Integration instance after leaving the screen, until the Active checkbox is unchecked. To reactivate an Integration instance, click the Inactive link and it will toggle back to Active.
Related content
- style
