FlexDeploy Docker Images
You must have Docker Engine installed as per https://docs.docker.com/install for this installation option.
FlexDeploy Docker Images
There are various images available for FlexDeploy. Choose option based on your specific need. Documentation is available on Docker Hub for each image, and this document will explain it at high level.
| Image | Notes |
|---|---|
| flexdeploy/fd_tcat_52 | FlexDeploy 5.2, you need to provide database connection details and working folder location. See Setup Steps. |
| flexdeploy/fd_tcat_xe_52 | FlexDeploy 5.2 install with Oracle XE database. For POC and demo purposes only. See Setup Steps. |
| flexdeploy/fd_tcat_postgres_52 | FlexDeploy 5.2 install with PostgreSQL database. For POC and demo purposes only. See Setup Steps. |
| flexdeploy/ebs-tutorial | FlexDeploy 5.2 install with Oracle XE database for EBS Tutorial. For POC and demo purposes only. See Setup Steps. |
| flexdeploy/soa-tutorial | FlexDeploy 5.2 install with Oracle XE database for SOA Tutorial. For POC and demo purposes only. See Setup Steps. |
| flexdeploy/adf-tutorial | FlexDeploy 5.2 install with Oracle XE database for ADF Tutorial. For POC and demo purposes only. See Setup Steps. |
| flexdeploy/java-tomcat-tutorial | FlexDeploy 5.2 install with Oracle XE database for Tomcat Tutorial. For POC and demo purposes only. See Setup Steps. |
| flexdeploy/weblogic-resource-tutorial | FlexDeploy 5.2 install with Oracle XE database for WebLogic Tutorial. For POC and demo purposes only. See Setup Steps. |
![]() - production ready
- production ready
fd_tcat_52
Start command session to Docker host and make sure you can run docker commands. If necessary sudo to root or other user.
Here are main steps for this type of docker image.
- Setup docker volume folder and copy plugins in it from download zip.
- Setup FlexDeploy Database
- Pull docker image
- Start container using specific image.
Step 1 - Setup Docker Volume Folder on Docker Host
This particular image only contains FlexDeploy with Tomcat, i.e. data and artifact repository is not part of the container. Hence we need to setup Database and various Folders first.
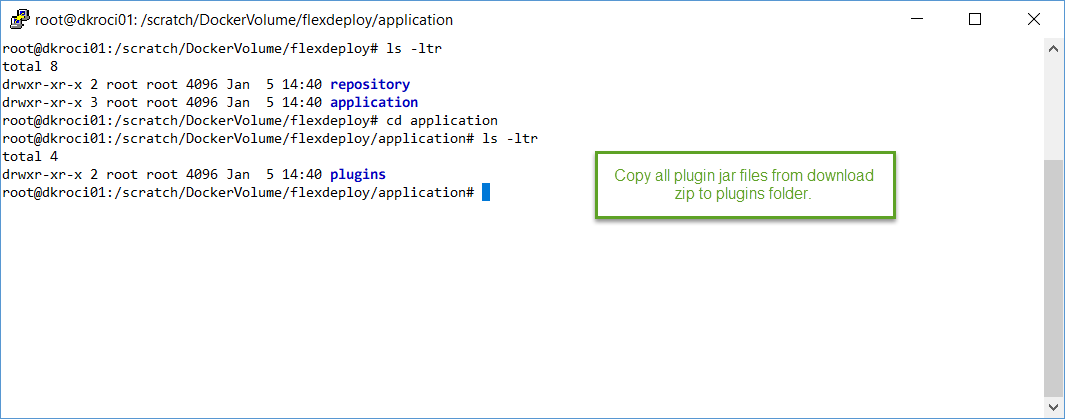
In this step, we will setup application and repository folder, then copy plugins from download zip in to necessary folder.
# adjust folder location as necessary for your Docker Host
mkdir -p /scratch/DockerVolume/flexdeploy
chmod -R 777 /scratch/DockerVolume
cd /scratch/DockerVolume
mkdir application
mkdir repository
cd application
mkdir plugins
cp ~/Tomcat_Complete-5.1.0.0/application/plugins/*.jar .
# ready with docker volume now
Step 2 - Setup FlexDeploy Database
Setup database as described in Installation Instructions - Database Tier.
Step 3 - Pull Docker Image
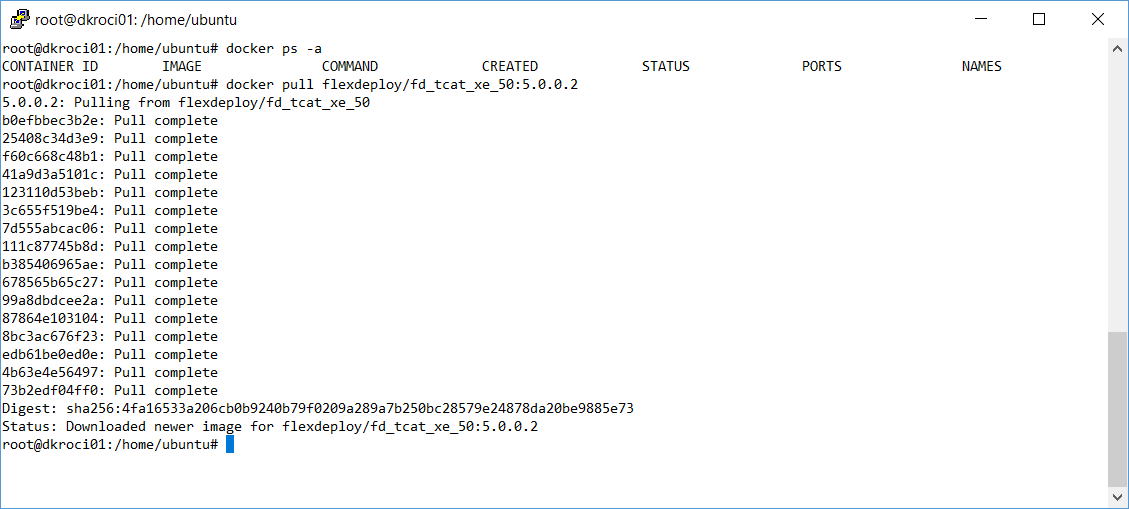
First let's pull docker image flexdeploy/fd_tcat_52. Adjust image version as necessary.
docker pull flexdeploy/fd_tcat_52:5.2.0.0
Step 4 - Run Docker Container
Now let's run FlexDeploy docker image. Adjust image version as necessary.
This particular image contains only FlexDeploy with Tomcat, i.e. data and artifact repository is not part of the container. So we need to pass various details to docker run command.
Run command example below uses port number 8004 for access to FlexDeploy application, which maps to 8080 port inside docker container. The database is referenced using dbtype (mysql, oracle, or postgres), FLEX_DB_URL environment variable and FD_ADMIN_PWD is password for fd_admin user on your database (setup done in Step 2). Adjust Port Numbers, URL, Password, Docker Volume Folder, Timezone as appropriate for your docker host.
docker run --name flexdeploy52 -p 8004:8080 -e FLEX_DB_URL="jdbc:oracle:thin:@129.213.91.244:1521:xe" -e FD_ADMIN_PWD="welcome1" -e TZ=America/Chicago -e dbtype=oracle|postgres|mysql -v /scratch/DockerVolume/flexdeploy:/home/oracle flexdeploy/fd_tcat_52:5.2.0.0
Example JDBC URL (FLEX_DB_URL)
- Oracle
- Localhost XE connection will look like this. jdbc:oracle:thin:@localhost:1521:XE
- SID based JDBC URL Syntax - jdbc:oracle:thin:@HOSTNAME:PORT:SID
- Service Name based JDBC URL Syntax - jdbc:oracle:thin:@//HOSTNAME:PORT/SERVICENAME
- PostgreSQL
- Syntax - jdbc:postgresql://hostname:port/flexdeploy
- Example - jdbc:postgresql://dkrlp01:5432/flexdeploy
- MySQL
- jdbc:mysql://hostname:port/FD_ADMIN
- Example - jdbc:mysql://dkrlp01:3307/FD_ADMIN
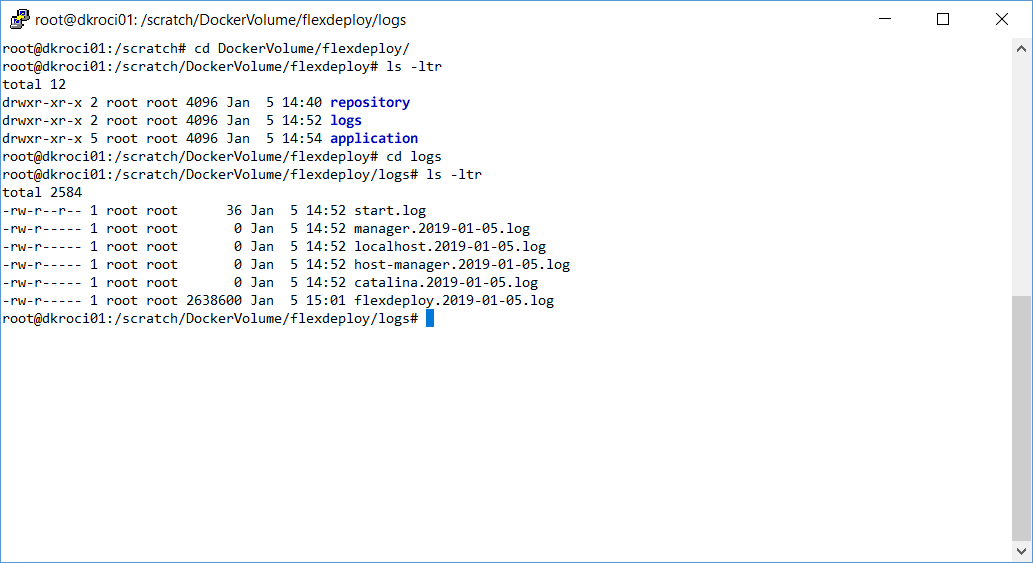
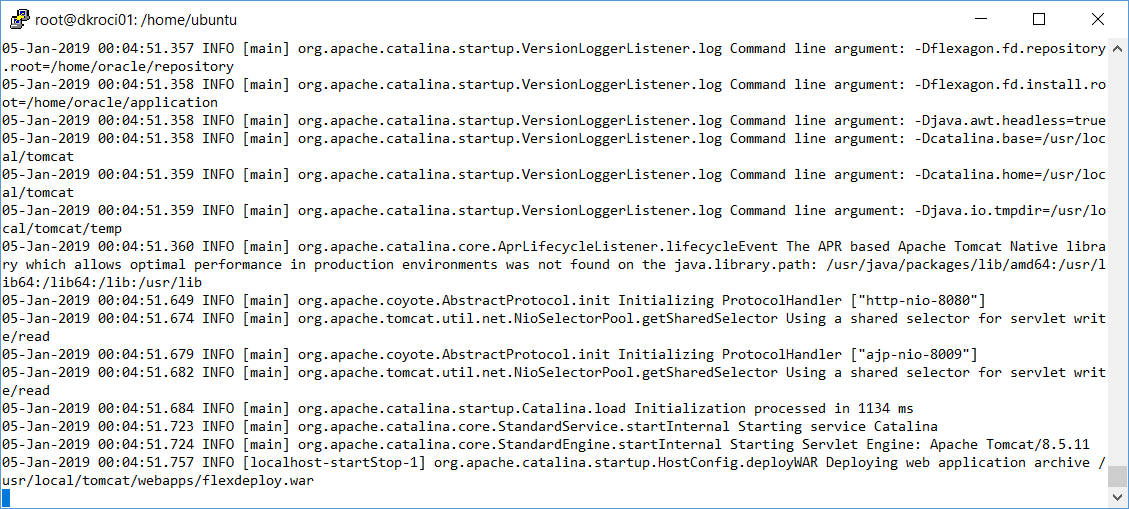
Now you can look at logs and other details in docker volume folder. For example,
If necessary, make sure to open port 8004 for access from outside docker host.
Now you can launch FlexDeploy using http://<docker host>:8004/flexdeploy.
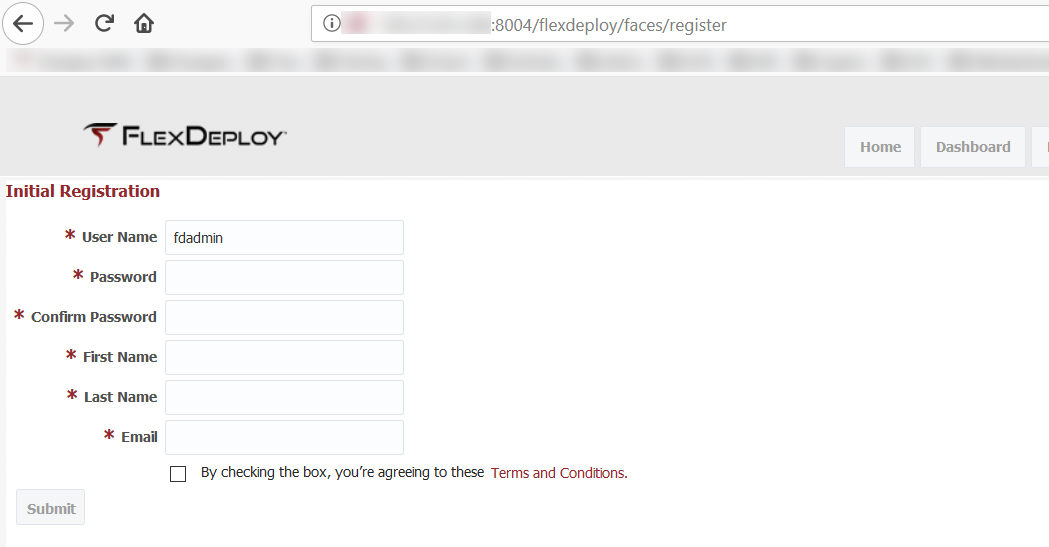
As always when you first launch FlexDeploy, you will need to complete Registration process.
Once you complete registration, you are ready to use FlexDeploy.
fd_tcat_xe_52 / fd_tcat_postgres_52 / tutorials
Start command session to Docker host and make sure you can run docker commands. If necessary sudo to root or other user.
Here are main steps for this type of docker image.
- Pull docker image
- Start container using specific image.
Step 1 - Pull Docker Image
First let's pull docker image flexdeploy/fd_tcat_xe_52. Adjust image name (if you are using Postgres or a tutorial image) and version as necessary.
docker pull flexdeploy/fd_tcat_xe_52:5.2.0.0
or
docker pull flexdeploy/fd_tcat_postgres_52:5.2.0.0
or
docker pull <tutorial image>
Step 2 - Run Docker Container
Now let's run FlexDeploy docker image. Adjust image name (if you are using tutorial image) and version as necessary.
2.1 fd_tcat_xe_52 / tutorials
This particular image contains Oracle XE and FlexDeploy with Tomcat, i.e. data and artifact repository is all part of the container. Data is persistent in the container.
Run command example below uses port number 8000 for access to FlexDeploy application, which maps to 8080 port inside docker container. Oracle XE is included as part of this image and it's port 1521 is also accessible on docker host. Adjust port numbers, Timezone as appropriate for your docker host.
docker run --name flexdeploy52_xe -p 1521:1521 -p 8000:8080 --shm-size=2gb -e TZ=$(date +%Z) flexdeploy/fd_tcat_xe_52:5.2.0.0
or
docker run --name flexdeploy52_xe -p 1521:1521 -p 8000:8080 --shm-size=2gb -e TZ=America/Chicago flexdeploy/fd_tcat_xe_52:5.2.0.0
2.2 fd_tcat_postgres_52
This particular image contains PostgreSQL DB and FlexDeploy with Tomcat, i.e. data and artifact repository is all part of the container. Data is persistent in the container.
Run command example below uses port number 8000 for access to FlexDeploy application, which maps to 8080 port inside docker container. PostgreSQL is included as part of this image and it's port 5432 is also accessible on docker host. Adjust port numbers, Timezone as appropriate for your docker host.
docker run --name flexdeploy52_postgres -p 5432:5432 -p 8000:8080 -e TZ=$(date +%Z) flexdeploy/fd_tcat_postgres_52:5.2.0.0
or
docker run --name flexdeploy52_postgres -p 5432:5432 -p 8000:8080 -e TZ=America/Chicago flexdeploy/fd_tcat_postgres_52:5.2.0.0
After some time, you can close command session that started FlexDeploy docker container. If you use Ctrl + C, then container will exit, just close session window.
Now you can launch FlexDeploy using http://<docker host>:8000/flexdeploy.
If necessary, make sure to open port 8000 for access from outside docker host.
As always when you first launch FlexDeploy, you will need to complete Registration process.
Once you complete registration, you are ready to use FlexDeploy.
Now that you have installed FlexDeploy, let's get start with configuration. You can do this in matter of minutes by using Blueprints concept, which is very simple configuration wizard for most common usecases.
Related content
- style

