Creating/Editing a Release
- Erick Jones
- Chandresh Patel
- Ben Hoffman
- Cole Chronowski (Unlicensed)
To create a new release, navigate to the Search Releases screen using the Releases menu.
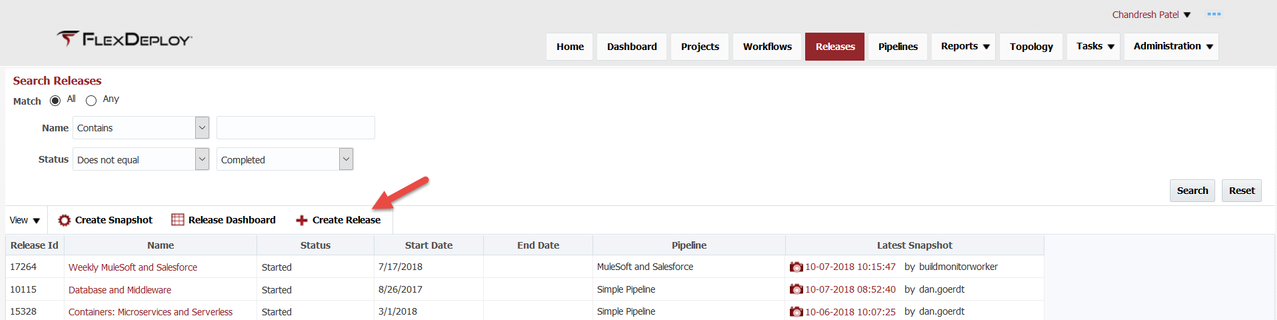
Click on the  button to create a release. To edit a release, click on the release name link in the Name column.
Field | Description |
|---|---|
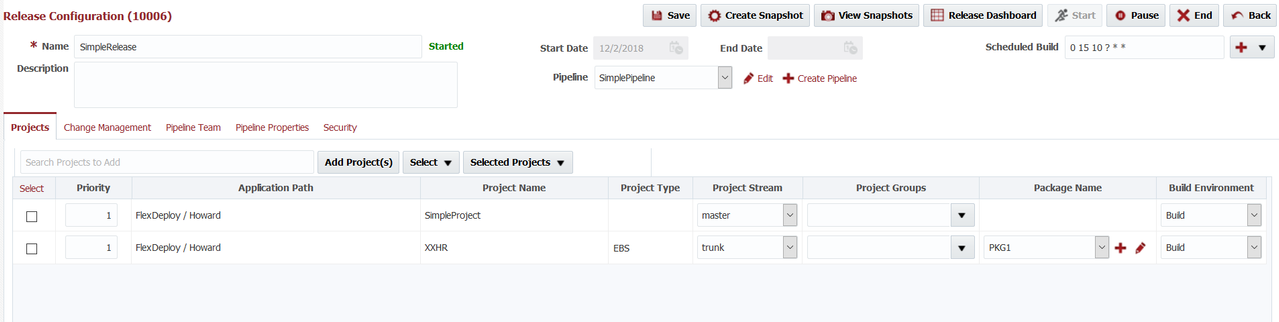
Name | The name of the release. |
| Status | The current status of the release (read-only).
|
Description | An optional description for the release. |
Start Date | The date and time in which the release was started (read-only). |
| End Date | The date and time in which the release was ended/completed (read-only). |
| Pipeline | The pipeline which is used to process snapshots for the release. |
| Scheduled Build | Cron expression to setup scheduled build for release projects. Project level Scheduled Build triggers are created, which can be viewed from project screen as well. More than one cron expression can be provided using ; separator. This would allow for more complex schedules. But all projects in release will use same schedule. For example,
If project added to release does not have Build Environment selected then it will not be part of scheduled build. When Release is Ended, all Scheduled Build triggers associated with release will be deleted. Release scheduled build processing
|
Projects
To add a project to the release, enter the project name in the Search Projects to Add input field and click the  button or just click button which will bring up Add Projects popup to add multiple projects. Configure the project details as defined below.
Column | Description |
|---|---|
Priority | The priority of the project. |
Application Path | The fully-qualified path of the project (read-only). |
Project Name | The name of the project. |
| Project Type | The type of the project (read-only)
|
| Project Stream | The stream used for the project/package. Only one stream per project/package per release may be used. |
| Project Groups | An optional categorization based on groups defined in associated pipeline. Selection will affect the behavior/implementation of Deploy All, Test All, and Execute All pipeline stage steps. |
| Package Name | The package name for the project, only applies for partial deployment projects. If using All Files, then select (All Files) from package name drop down or select specific package. If you want to create new package click plus sign and provide new package name. You can edit package details if using package, See Managing Files for Partial Deployment. |
| Build Environment | If there is only one build environment for project, then this will be defaulted. If no build environment specified and release is setup for Scheduled Build, this project will not be included in Scheduled Build. |
To add multiple projects at a time to the release using filter criteria, click on the button without entering anything in Search Projects to Add input.
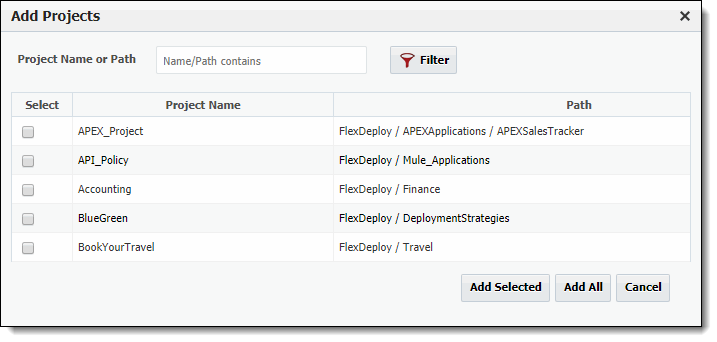
Optionally enter a criteria in the Project Name or Path field to filter the project list, and click the  button to filter button. Next, select one or more projects to add to the release, and click
  the button, or simply click the
  button to add all projects displayed to the release.
You can add multiple packages to the release for the same project. Simply add the same project to the release and provide the package name.
Click the  button to save your changes. To start the release, and allow snapshots to be created and sent to the pipeline for execution, click the
  button.
To temporarily pause the application so that no snapshots can be created and sent for execution, click the  button. A paused release can be resumed by clicking the button again.
Once a release is completed, click the  button to end the release. Like paused/suspended releases, snapshots can be created and sent for execution once ended. Ended releases cannot be resumed, and at this point you would need to create a new release.
Change Management
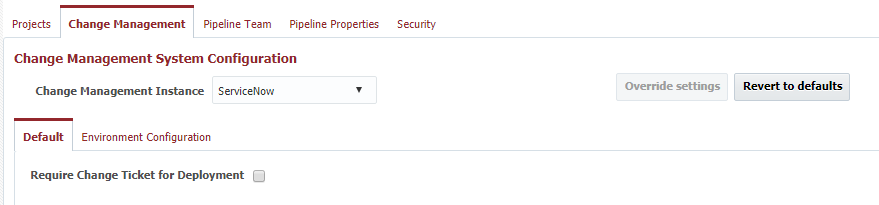
The Change Management System tab allows association of the release with any Change Management Instance which was configured in the topology. You must create the instance prior to configuring your release to it. Edit a Release, and select a Change Management System Instance from the drop down to associate it to the release. Association of a Change Management Instance is optional, and used only to integrate with ServiceNow.
Field | Description |
|---|---|
Change Management Instance | The Change Management Instance in Topology to associate with this release. Optional. |
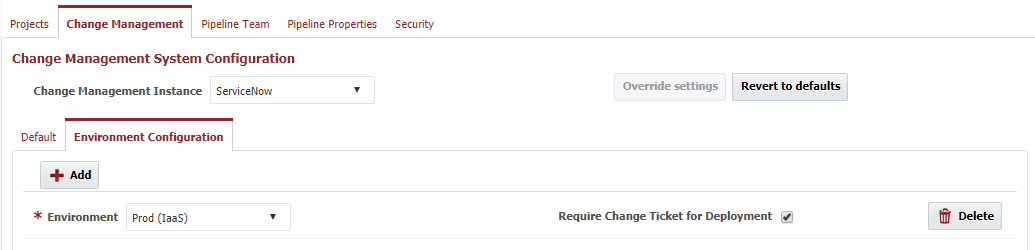
The Default tab provides configuration which applies to every stage of the associated pipeline. Check the Require Change Ticket for Deployment checkbox if you want to enforce that every stage in the pipeline have an associated change ticket in order to submit a deployment request for that stage/environment. If any of the execution related steps (e.g. Deploy, Deploy All, etc.) are executed in the pipeline for a stage which requires a ticket, and no ticket is provided, the step will fail indicating a ticket is required.
The Environment Configuration allows configuration by pipeline stage. To override from the default, click the  button, and then click the
  button to add a new row. In the row, select the environment/stage, and indicate whether or not you wish to require a change ticket. The execution behavior is the same as with default configuration when execution related steps are performed in the the particular environment within the pipeline. To delete the configuration override for a an environment, click the
  button in the row. The fallback to the settings on the Defaults tab, click the
  button.
Tip
To require a change ticket for Production only, set Require Change Ticket for Deployment to "No" on the Defaults tab, and add an override for Production environment with Require Change Ticket for Deployment" set to "Yes" (on the Environment Configuration tab).
Pipeline Team
The pipeline referenced by the release optionally defines a set of pipeline roles, and default members. The Pipeline Team tab allows viewing the roles their members, and overriding the members.
Example
A "Release Manager" role could have Group1 as a member for Release1 and Group2 as a member for Release2.
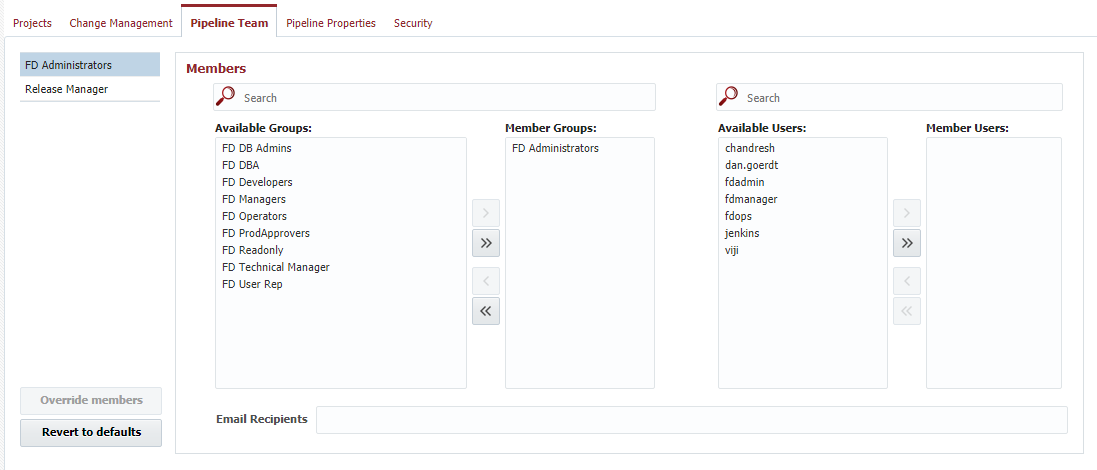
The list of pipeline roles from the associated pipeline are displayed along the left-hand side. To view the members, select a pipeline role. Those members are displayed on the right.
To override the members for the release, click the  button. The Members are displayed enabled for modification, and you can change the Groups and Users by shuttling from Available Groups/Users on the left, to Member Groups/Users on the right. Multiple email recipients (used for notification only) can be specified by semi-colon delimiting them. To revert the members of a role to the defaults defined on the pipeline, click the button.
Tips
- Filter the list of available Groups or Users by typing all or part of its name into the
 Search fields.
 - As a best practice, avoid assigning users directly to pipeline roles. Instead, create a group with assigned users, and assign the group to the role. This allows managing users in a centralized location, and avoids management across potentially many pipelines and releases.
- Establish defaults in the role definitions of the pipeline, especially if team members are common across releases, to eliminate the need to configure the team on each and every release.
Pipeline Properties
The pipeline used by a release defines properties in order to decorate a release with context. The value for these properties are then configured on the consuming releases.
The Pipeline Properties tab lists the properties, according to the metadata defined on the associated pipeline. Enter or select values to decorate the release.
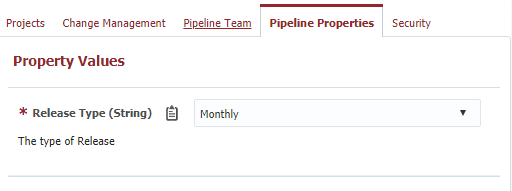
The properties are available as variables in the pipeline Groovy scripts, to deployment workflows, and their plugins. These properties are very powerful, as they enable customization of pipelines.
Tip
The property is referenced in Groovy and shell scripts using the property code. You can view the property code by hovering over the  icon. Click on the icon to copy the property code to the clipboard.
Security
The pipeline associated to the release optionally defines a set of pipeline roles, and assigns them default permissions related to releases. The Security tab allows for viewing of those roles, the default granted permissions, and allows override for that release if necessary.
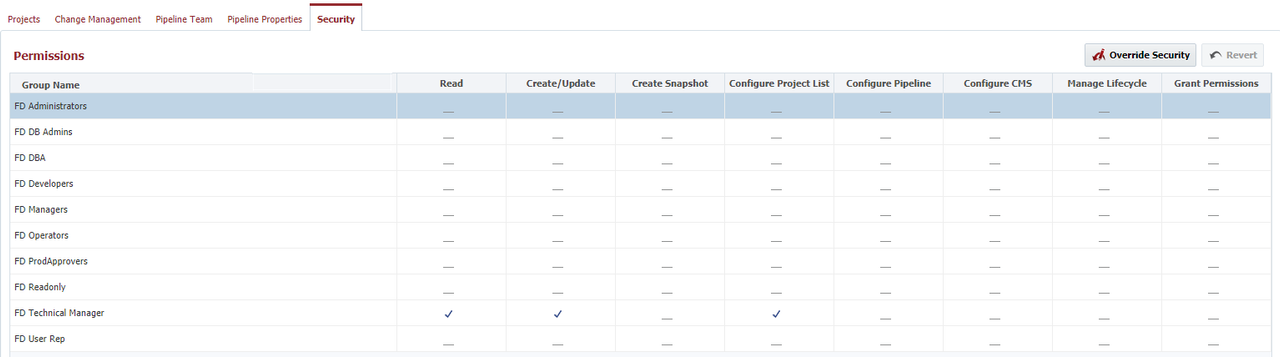
By default, the permissions are defined and shared (by all releases) on the pipeline. As shown above, you can see the permissions which are inherited by the release from the associated pipeline. To override, click on the  button. To fallback to the default permissions defined by the pipeline, click on the
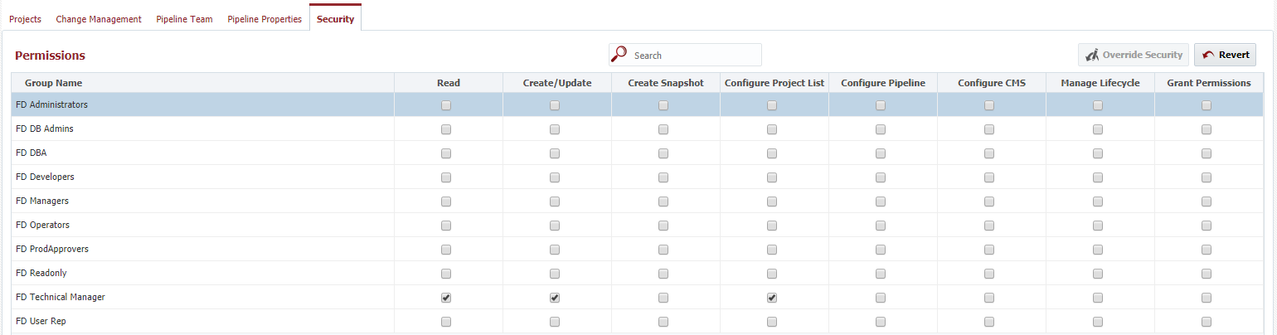
  button. When overriding the security, the page flips from read-only to editable check-boxes.
Permission | Description |
|---|---|
Read | Grants the pipeline role permission to view release. |
| Create/Update | Grants the pipeline role permission to create and update the release. Applies to header level fields like name and description only. Prior to 4.6.0.4, this permission was required for other Configure permissions defined below. |
| Create Snapshot | Grants the pipeline role permission to create snapshots for the release. Includes builds associated to release, direct creation of snapshot, and promotion of existing project version to the release. |
| Configure Project List | Grants the pipeline role permission to add/remove projects and packages to/from the release. |
| Configure Pipeline | Grants the pipeline role permission to associate the release to another pipeline. |
| Configure CMS | Grants the pipeline role permission to configure the Change Management tab of the release. |
| Manage Lifecycle | Grants the pipeline role permission to Start, End, and Pause the release. |
| Grant Permissions | Grants the pipeline role permission to configure the Security tab of the release. |
The permissions are only relevant to FlexDeploy Group and FlexDeploy User members of pipeline roles. Email address members do not inherit permissions, as they cannot login to FlexDeploy.
Related content
- style