This page provides the system requirements and installation instructions for the FlexDeploy database tier on PostgreSQL.
Requirements
- PostgreSQL 11
- 4GB of RAM
- 1 or 2 CPU
- At least 10GB of available space, may need additional space. Purge settings within FlexDeploy will determine future needs.
- Normal database backup procedures should be followed outside of the FlexDeploy Application. Backing up of this database is not included in FlexDeploy.
Installation Instructions
Backup Considerations
Customers should follow their standard practices for Database and File System(Artifact Repository) backup. During upgrade procedure, we have defined steps to take complete backup of database and file system as well.
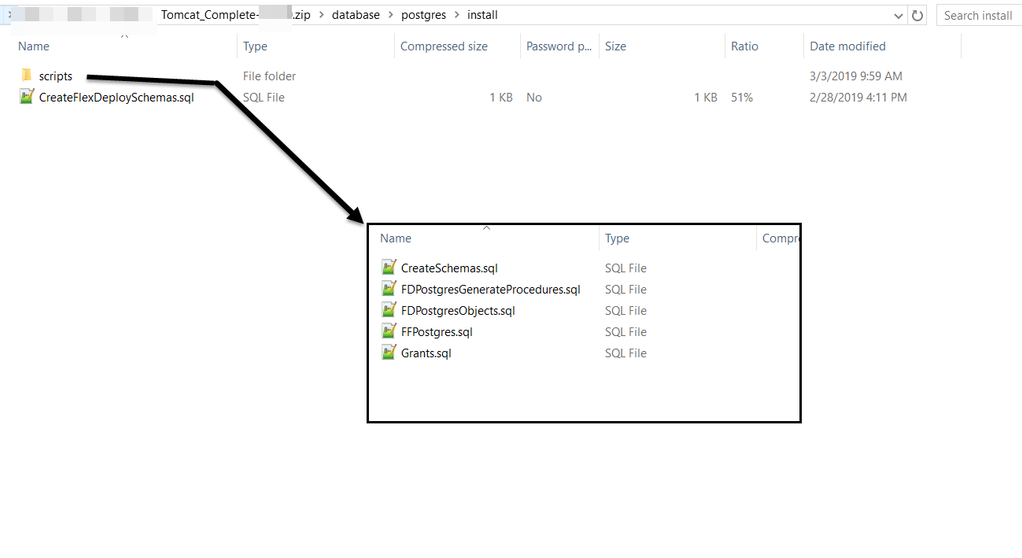
You must be in /database/postgres/install folder from extracted zip when executing scripts.
FlexDeploy uses three schemas (FD, FF, and FD_ADMIN) in the database and performs all work using the FD_ADMIN user. Run database scripts from where you extracted downloaded FlexDeploy zip file. Navigate to the /database/postgres/install directory.
Step 1. You should set the FD_ADMIN password before running the scripts.
- Open the file <Unzip Folder>/database/postgres/install/scripts/CreateSchemas.sql
- Edit the line: CREATE USER FD_ADMIN with password 'welcome1'; so that it has a new password in it.
You should record the FD_ADMIN password, as that will be used in configuration of data source on application server.
Step 2. Install PostgreSQL database, if you have done that already. Follow guidelines for your platform as documented in PostgreSQL documentation.
Step 3. Create flexdeploy database.
These are high level steps, you can find more detailed steps in PostgreSQL documentation.
cd <PosgreSQL Install Home>\pgsql\bin
initdb.exe -D <Data Folder> --username=postgres --auth=trust
pg_ctl -D ../data -l logfile start
pg_ctl start -l <Data Folder>\server.log -D <Data Folder>
createdb flexdeploy
Step 4. Create FlexDeploy schema objects.
- Open a command prompt or putty window to the <FlexDeploy Unzip Folder>/database/postgres/install folder from extracted zip, launch psql (use full path if not available on PATH environment)
- Run as a user like postgres with privileges to create users and schemas within that database.
- Change the bold text as needed in your environment.
- Run the appropriate command below.
Linux
- Run FlexDeploy scripts. Type the password when asked. PostgresDDL.txt records the output of the script so that you can refer back to it later.
- cd <Flexdeploy Unzip Folder>\database\postgres\install
- /path/to/psql -U postgres -h hostname -p 5432 -d flexdeploy -a -b -e -f CreateFlexDeploySchemas.sql > PostgresDDL.txt
Windows
- Run FlexDeploy scripts. Type the password when asked. PostgresDDL.txt records the output of the script so that you can refer back to it later.
- cd <Unzip Folder>/database/postgres/install
- C:\path\to\psql -U postgres -h hostname -p 5432 -d flexdeploy -a -b -e -f CreateFlexDeploySchemas.sql > PostgresDDL.txt