We have now configured FlexDeploy with everything it needs to begin executing build and deployment requests for the ADF and SOA projects that were created.
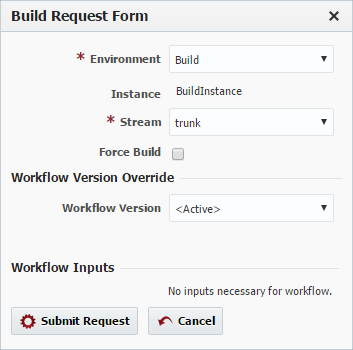
Click on the green Execute tab from within the ADF application you created in the last section. Next click the Build button to present the build request form.
Select the Build environment and click the Submit Request button. You may now click the refresh button periodically, or wait for the automatic refresh, until the status changes to Success or Failure.
You can also click on the Execution Id to drill into the step details of the workflow or view the logs, which is critical in the case of failures.
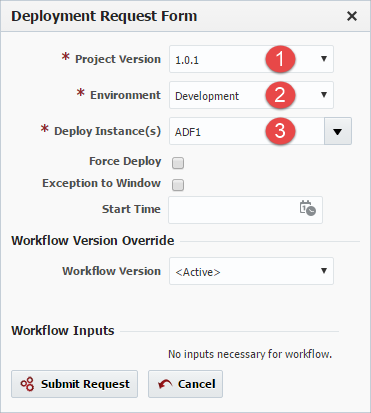
Once there is a successful build you can request a deployment by clicking on the Deploy button.
On the Deployment Request Form select the project version you wish to deploy, the target environment, and the target instance. Click the Submit Request button. Similarly to the build request, you may click the refresh button periodically, or wait for the automatic refresh, until the status changes to Success or Failure, or click on the Execution Id to view the logs.
Using the same steps as described above, execute build and deployment requests for the SOA project you created.


