...
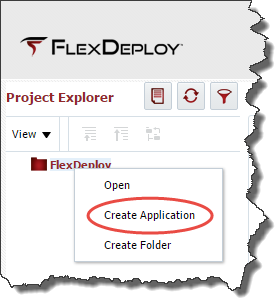
Right-click on the FlexDeploy folder and select Create Application.
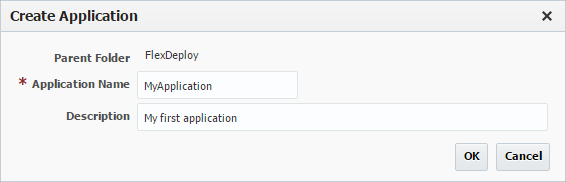
Enter a name and description for the application and click the OK button. Then right-click on the newly created application and select Create Project.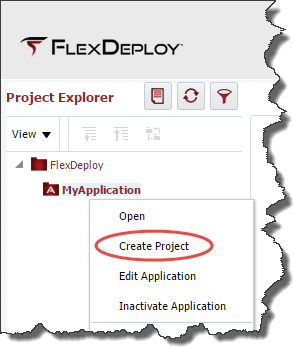

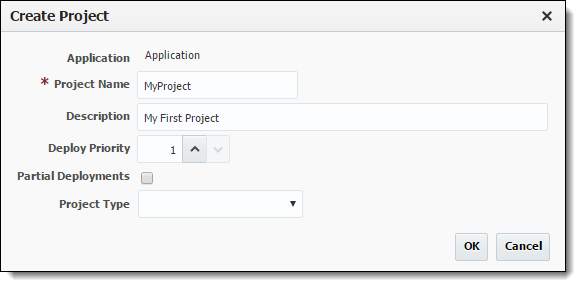
Enter a name and description for the project and click the OK button. The newly created project will open. Click the light-blue Configure tab to enter further configuration.
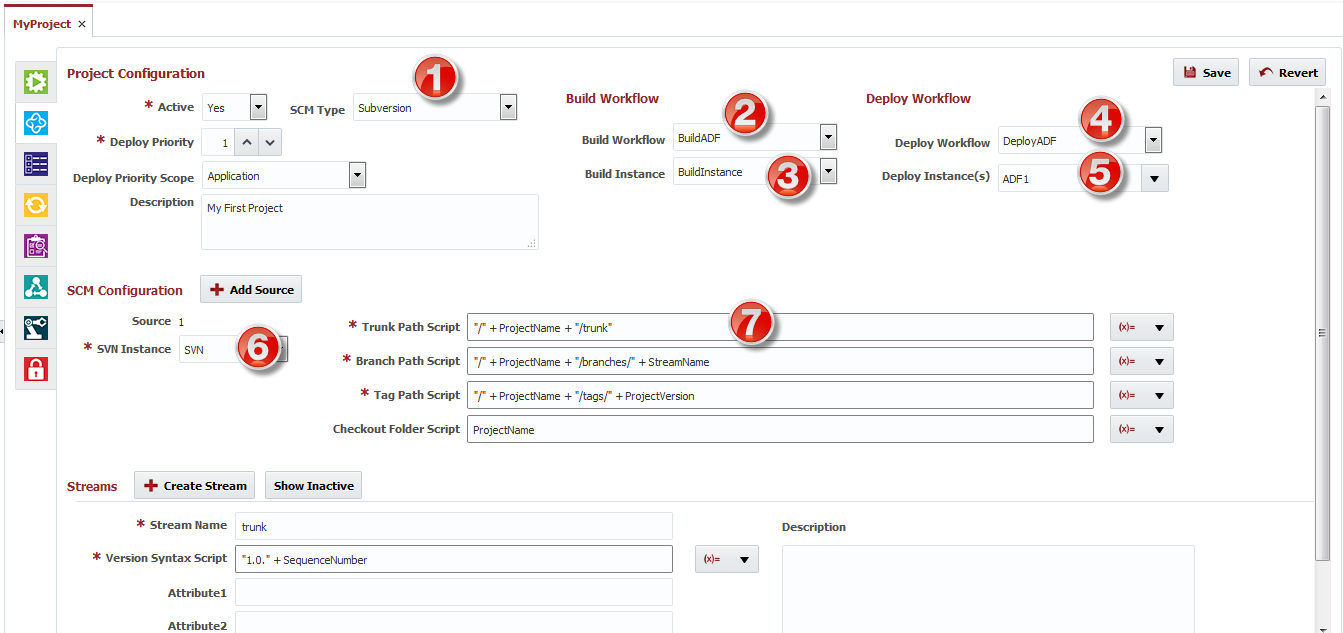
Enter the Project Configuration information as shown in the image above. Additional information on the SCM configuration is available in the FlexDeploy User's Guide. Make sure that the Trunk Path Script (7) matches your configuration. Click Save and switch to the purple Properties tab.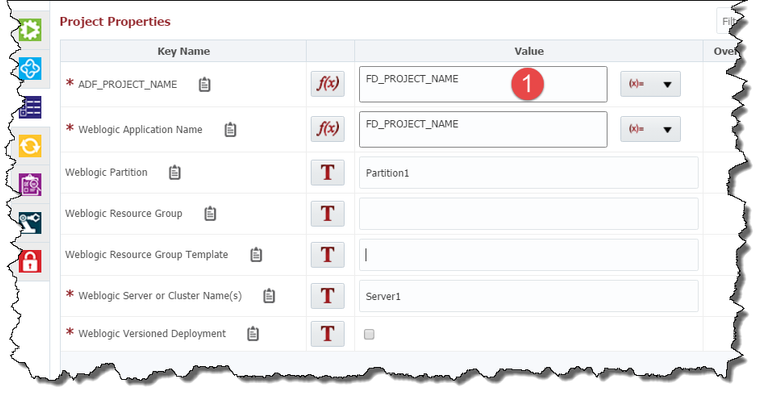
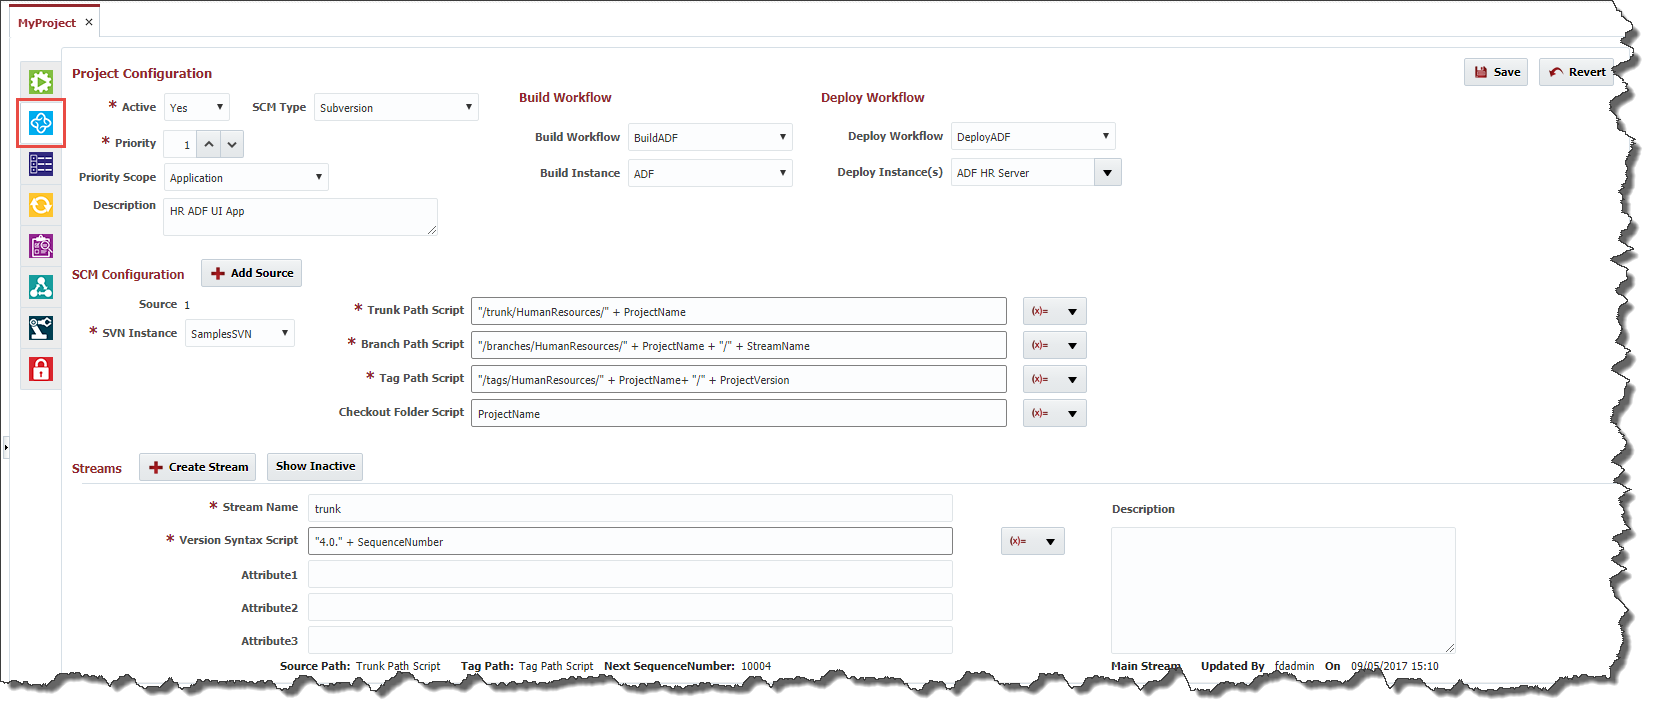
Enter the Project Property Configuration information as shown in the image above. Enter values for the project property that are relevant to your ADF application. Notice the ADF_PROJECT_NAME (1) project-scoped property that we configured on the BuildADF workflow. This property is exposed as a project property so that the workflow is generic and can be reused by many projects.
...