Executes a sonar scan. This operation takes inputs for both a Sonar project properties path and an analysis properties file. If both are provided, the plugin will use the analysis properties and do nothing with the path. This operation only returns its task Id and browsable url on the specified SonarQube instance.
Analysis Properties
There are a significant amount of analysis parameters available to augment a Sonar scan. It is recommended to research which parameters are necessary for your projects and sonar scans.
Analysis Tool Instance Properties
| Property Name | Property Code | Required | Description |
|---|---|---|---|
| SonarQube instance URL | FDSONARQUBEACCT_INSTANCE_URL | Yes | SonarQube Server Instance URL (example: https://localhost:9000) |
| SonarQube Token | FDSONARQUBEACCT_TOKEN | No | SonarQube Server Token provides credentials to run code scans or to invoke web services as a replacement of the user login. Provide a token or username and password. |
| SonarQube Username | FDSONARQUBEACCT_USERNAME | No | The username for your SonarQube Server Instance. Provide a token or username and password. |
| SonarQube Password | FDSONARQUBEACCT_PASSWORD | No | The password for your SonarQube Server Instance. Provide a token or username and password. |
Project Properties
| Property Name | Property Code | Required | Description |
|---|
Inputs
| Input Name | Input Code | Required | Description |
|---|---|---|---|
FDSQ_INP_ANALYSIS_TOOL_ACCOUNT_CODE | Yes | The SonarQube account with all the required properties like Sonar Scanner Home, Instance Url, Token for running SonarQube Instance. | |
| Sonar Project Properties Path | FDSQ_INP_PROPERTIES_FILE_PATH | No | Absolute file path of the sonar-project.properties file. |
| Analysis Properties | FDSQ_INP_ANALYSIS_PROPERTIES | No | Define the sonar project properties manually. This will override all other fields. Required property: sonar.projectKey |
Outputs
| Output Name | Description |
|---|---|
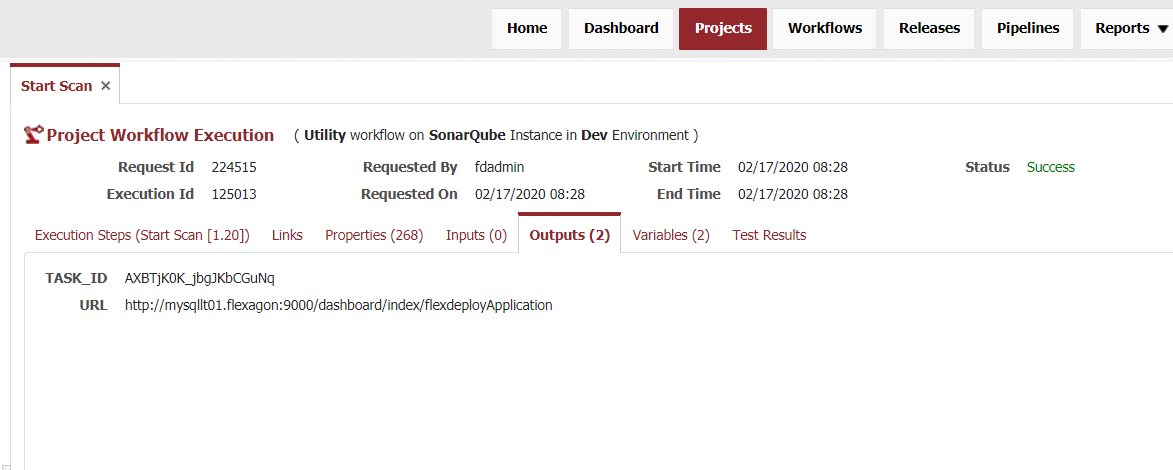
| Id of the task or Sonar scan started. | |
| FDSQ_OUT_DASHBOARD_URL | SonarQube instance dashboard url. Note that you will be able to access the updated dashboard once the server has processed the submitted analysis report. |
Artifacts
This operation doesn’t consume or produce any artifacts.
Endpoint Selection
This operation will select all available endpoints associated to the environment/instance.
Endpoint Execution
This operation will execute on any one of the selected endpoints and will be random in the determination of which one.
Special Considerations
SonarQube instance required
- Sonar Scanner installed on target environment
- Download the CLI Sonar Scanner
Example
Step 1: Gather authentication information.
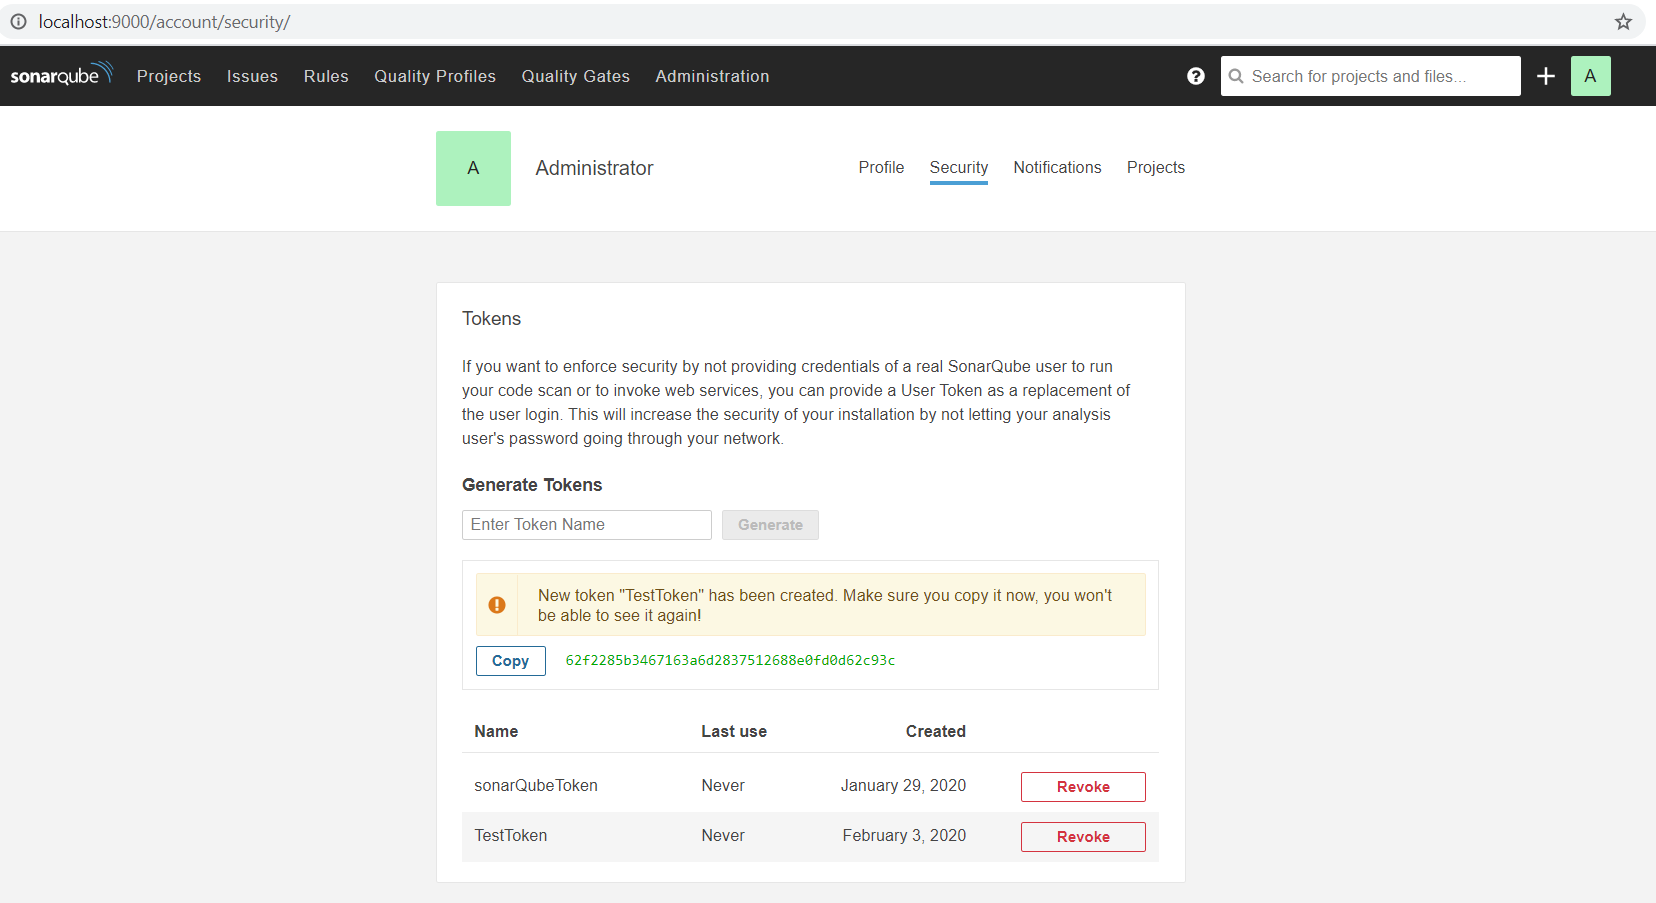
- If you choose to use a token over username and password for authentication you can generate it on your SonarQube Server. To get a SonarQube Token: login to your SonarQube Instance (http://host:port ex: http://localhost:9000/) and navigate to My Account->Security->Generate New Token. Make sure you copy and save this token somewhere secure because after you leave this screen you will not be able to see your token again.
Step 2: Create a SonarQube Analysis Tool Account
- Under SonarQube Account define:
- SonarQube Instance URL (http://host:port with no extra "/" at the end).
- Token OR username AND password for SonarQube Instance.
Step 3: Set your host url
- Navigate to your SonarQube installation location. We'll refer to it as
$install_directoryin the next steps. - Update the global settings to point to your SonarQube server by editing
$install_directory/conf/sonar-scanner.properties:sonar-scanner.properties#----- Default SonarQube server #sonar.host.url=http://localhost:9000 #Don't forget to remove the "#" here if it is there by default
Step 4: Define sonar project properties (2 options)
- Option 1: Create a configuration file in the root directory of the project and name it sonar-project.properties, then give the file path to this file under Sonar Project Properties Path.
- Option 2: Create the sonar project properties from the Workflow screen under Analysis Properties.
Note
Sonar Project Properties Path or Analysis Properties is required but not both. Notice both are defined in this example, therefore, the analysis properties will take precedence.
- For a list of all possible properties available visit SonarQube Analysis Properties.
Step 5: Define output names for FDSQ_OUT_TASK_ID and FDSQ_OUT_DASHBOARD_URL and create variables with matching names.
Step 6: Create a project, select your sonar scan workflow, and instance.
Step 7: Run the workflow to start your sonar scan.
Example output:


