Installation Instructions - Docker Image (for trials)
You must have Docker Engine installed as per https://docs.docker.com/install for this installation option.
Start command session to Docker host and make sure you can run docker commands. If necessary sudo to root or other user.

Here are main steps for this type of docker image.
- Pull docker image
- Start container using specific image.
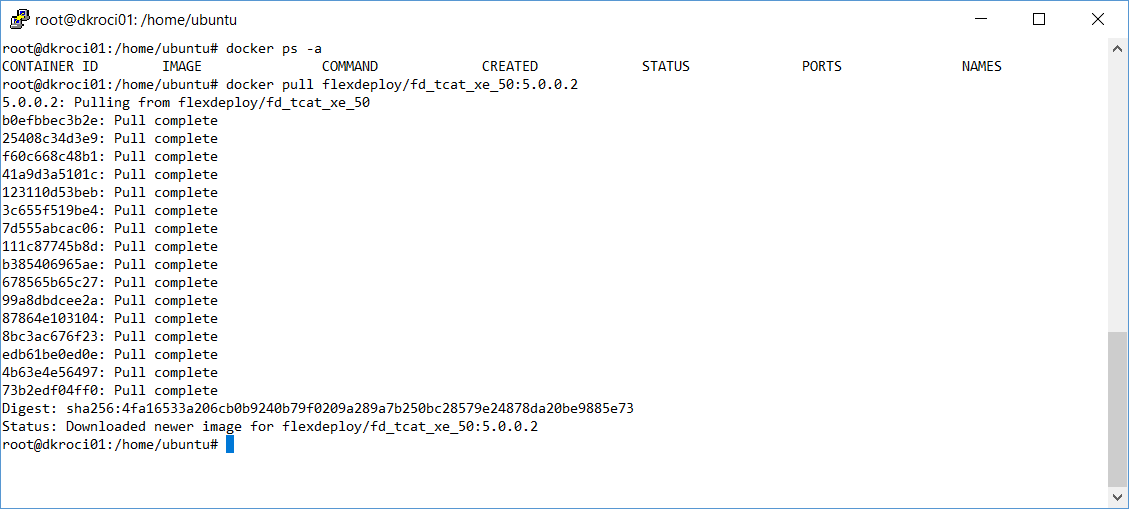
Step 1 - Pull Docker Image
First let's pull docker image flexdeploy/fd_tcat_postgres. Adjust image name (if you are using a tutorial image) and version as necessary.
docker pull flexdeploy/fd_tcat_postgres
or
docker pull <tutorial image>
Step 2 - Run Docker Container
Now let's run FlexDeploy docker image. Adjust image name (if you are using tutorial image) and version as necessary.
2.1 tutorials
This particular image contains Oracle XE and FlexDeploy with Tomcat, i.e. data and artifact repository is all part of the container. Data is persistent in the container.
Run command example below uses port number 8000 for access to FlexDeploy application, which maps to 8080 port inside docker container. Oracle XE is included as part of this image and it's port 1521 is also accessible on docker host. Adjust port numbers, Timezone as appropriate for your docker host.
docker run --name flexdeploy53 -p 1521:1521 -p 8000:8080 --shm-size=2gb -e TZ=$(date +%Z) flexdeploy/ebs-tutorial:5.3.0.0
or
docker run --name flexdeploy53 -p 1521:1521 -p 8000:8080 --shm-size=2gb -e TZ=America/Chicago flexdeploy/ebs-tutorial:5.3.0.0
2.2 fd_tcat_postgres
This particular image contains PostgreSQL DB and FlexDeploy with Tomcat, i.e. data and artifact repository is all part of the container. Data is persistent in the container.
Run command example below uses port number 8000 for access to FlexDeploy application, which maps to 8080 port inside docker container. PostgreSQL is included as part of this image and it's port 5432 is also accessible on docker host. Adjust port numbers, Timezone as appropriate for your docker host.
docker run --name flexdeploy53_postgres -p 5432:5432 -p 8000:8080 -e TZ=$(date +%Z) flexdeploy/fd_tcat_postgres:5.3.0.0
or
docker run --name flexdeploy53_postgres -p 5432:5432 -p 8000:8080 -e TZ=America/Chicago flexdeploy/fd_tcat_postgres:5.3.0.0
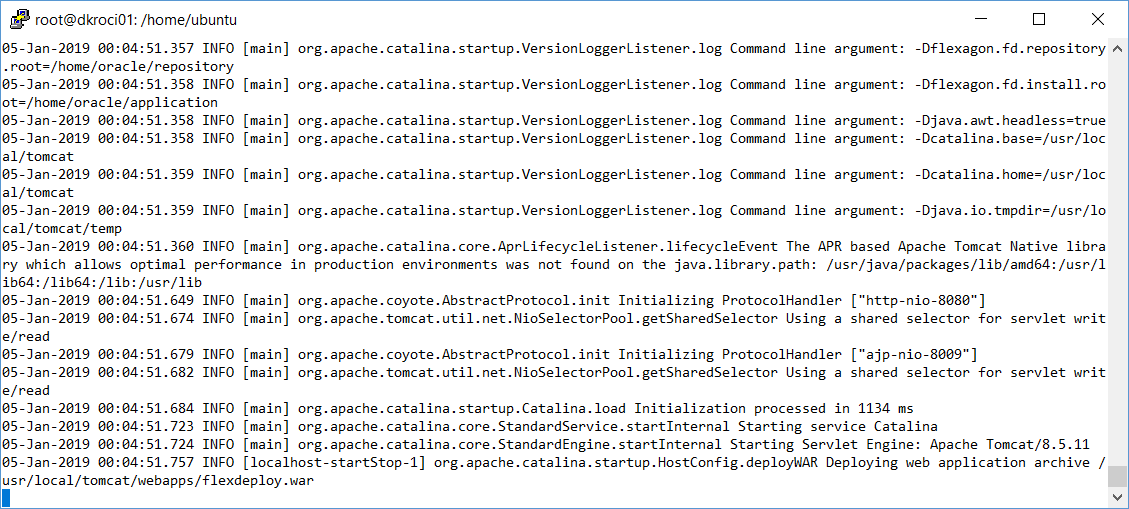
After some time, you can close command session that started FlexDeploy docker container. If you use Ctrl + C, then container will exit, just close session window.
Now you can launch FlexDeploy using http://<docker host>:8000/flexdeploy.
If necessary, make sure to open port 8000 for access from outside docker host.
As always when you first launch FlexDeploy, you will need to complete Registration process.
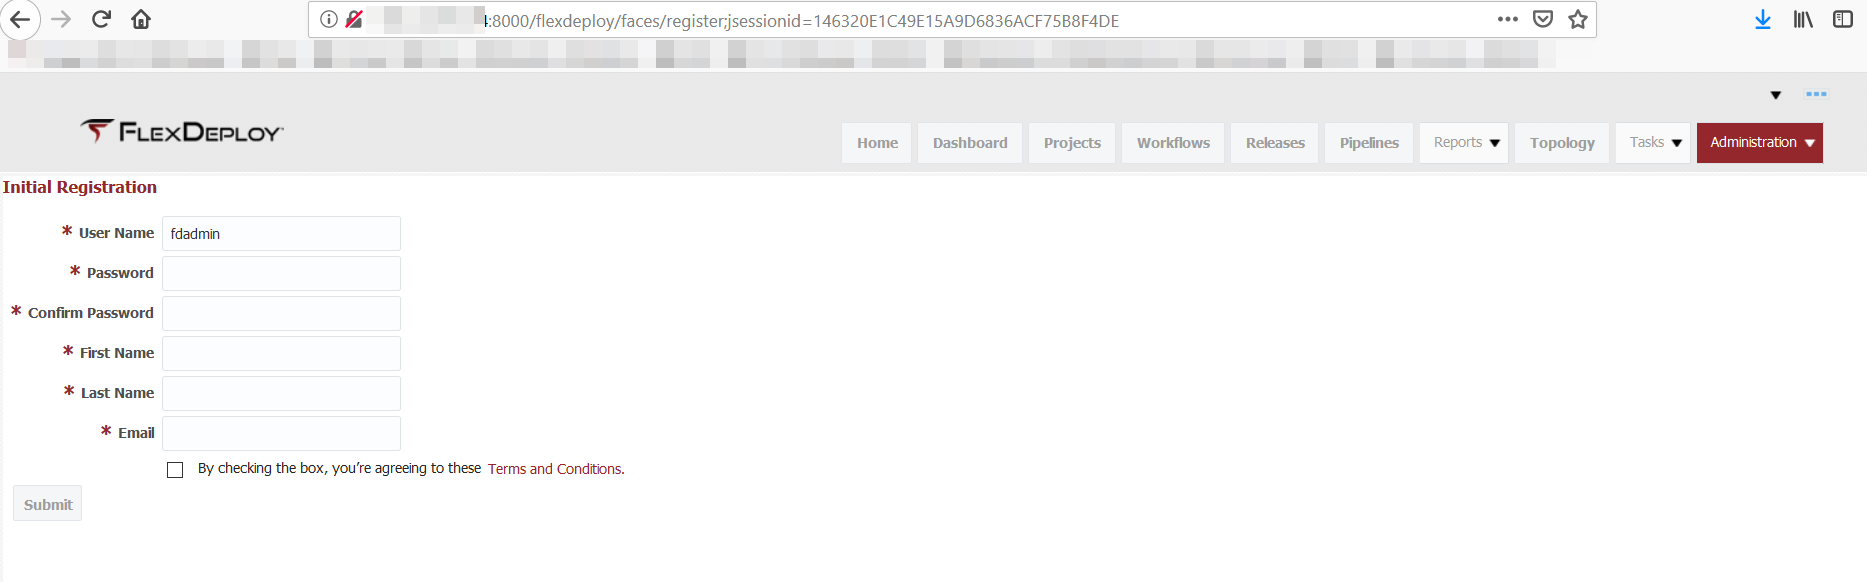
Once you complete registration, you are ready to use FlexDeploy.
Now that you have installed FlexDeploy, let's get start with configuration. You can do this in matter of minutes by using Blueprints concept, which is very simple configuration wizard for most common usecases.
- style