This guide provides the instructions to install Cygwin on a Windows client.
Install Steps
- Download Cygwin from the following location: https://www.cygwin.com/
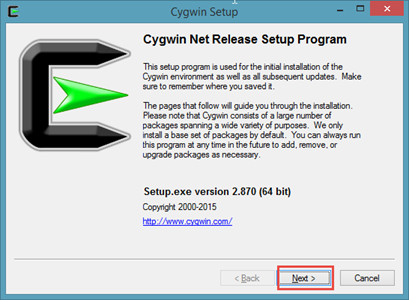
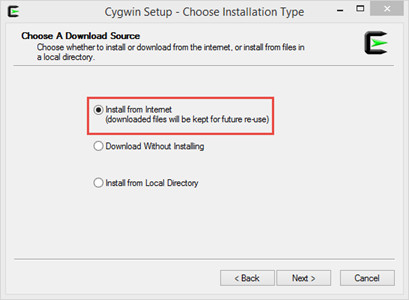
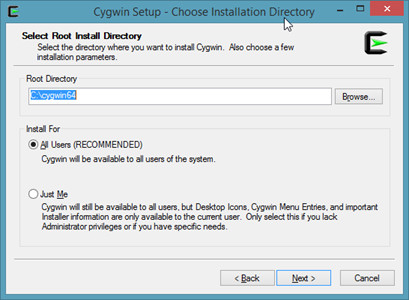
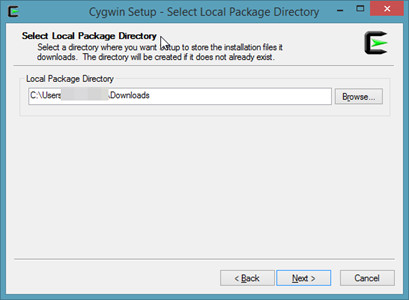
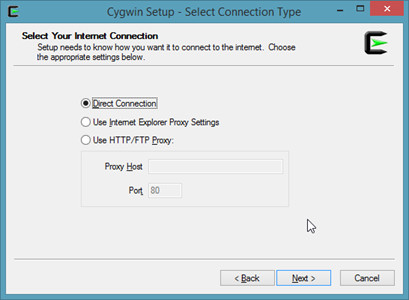
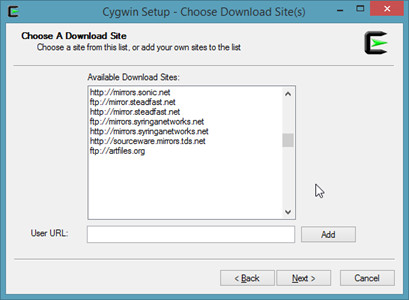
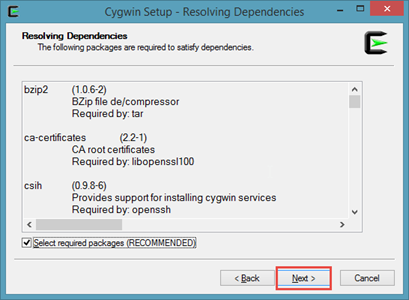
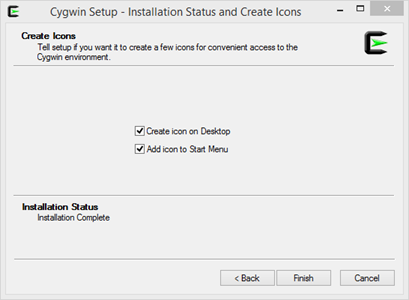
- Run the installer and follow the prompts:
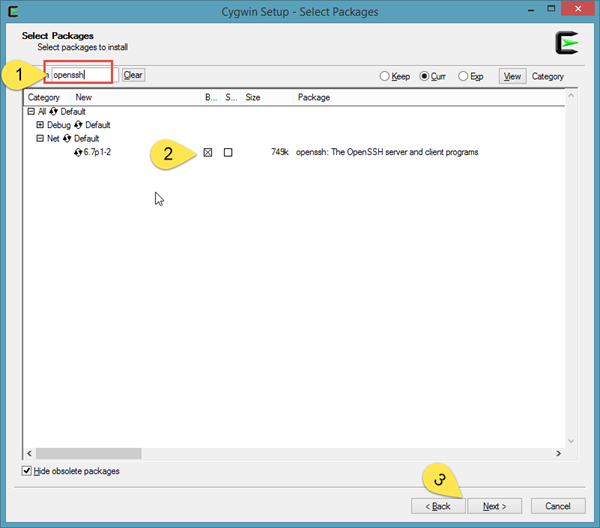
3. Type openssh into the search dialog
4. Drill down to Net>openssh . Click on the version number and it will check the Binary box.
5. Click next.

6. Navigate to the location you installed Cygwin and run Cygwin.bat as an administrator.
7. Once the bash window opens, run:
ssh-host-config
8. Follow the prompts and enter the information as indicated below:
*** Query: Should StrictModes be used? (yes/no) yes
*** Query: Should privilege separation be used? (yes/no) yes
*** Query: new local account 'sshd'? (yes/no) yes
*** Query: Do you want to install sshd as a service?
*** Query: (Say "no" if it is already installed as a service) (yes/no) yes
*** Query: Enter the value of CYGWIN for the daemon: [] <PRESS ENTER>
*** Query: Do you want to use a different name? (yes/no) no
*** Query: Create new privileged user account 'SYS\cyg_server' (Cygwin name: 'cyg_server')? (yes/no) yes
*** Query: Please enter the password: <ENTER PASSWORD>
*** Query: Reenter: <ENTER PASSWORD>
*** Info: Host configuration finished. Have fun!
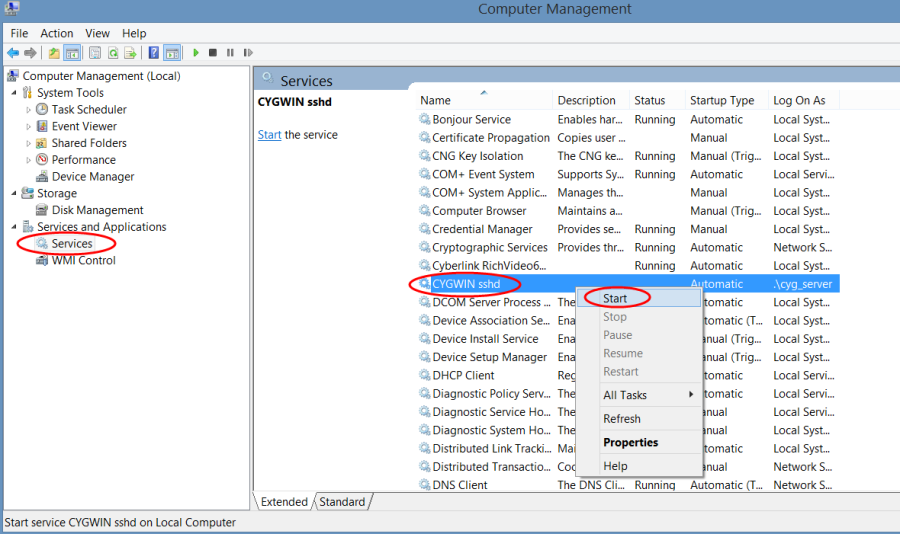
9. Start the Cygwin SSH service from the services console (Computer Management>Services)
10. Verify your Firewall configuration is compatible with the new service; You may need to open port 22 if you have a firewall enabled.
11. Using a SSH client (such as PuTTY) attempt to log in to the host with user that has local access to the machine. If successful then the environment is setup and ready for use.