FlexDeploy provides a file distribution for Tomcat which simplifies the installation process. This distribution contains Tomcat, the FlexDeploy WAR, and the base configurations, leaving only a few simple steps to complete the install. The distribution contains the following components.
...
Installation Instructions
Adjust for Windows path if you are installing on Windows platform.
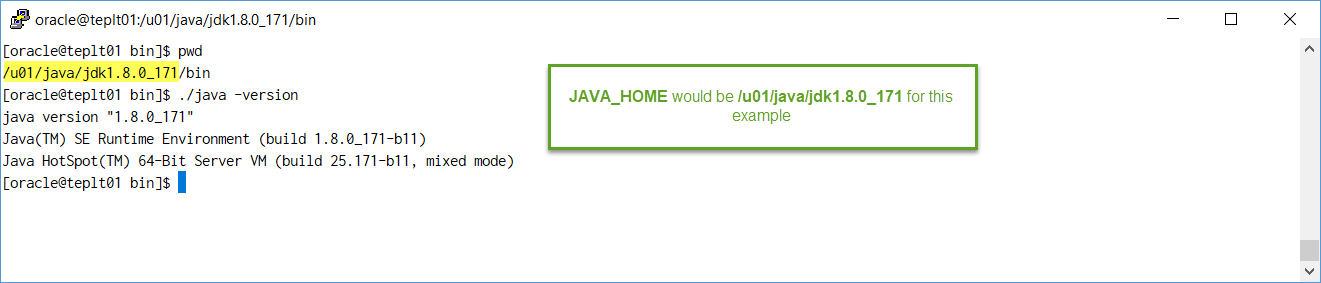
Step 1. Ensure Java 8 is installed on the server.
In this example, JAVA_HOME is /u01/java/jdk1.8.0_171 but it can be anything you want. If default java is not version 8, then we will need to adjust for it during Step 7 later.
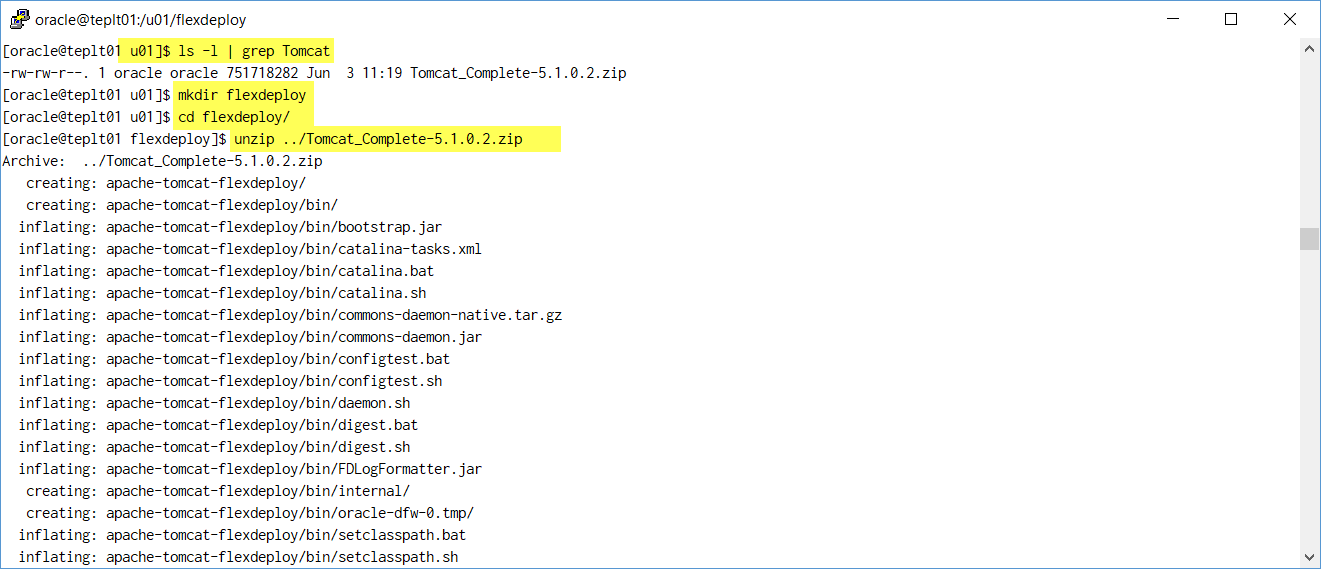
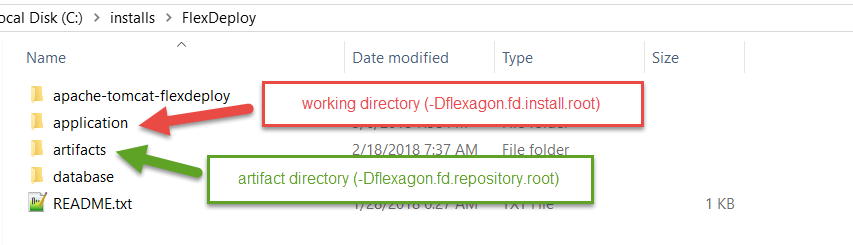
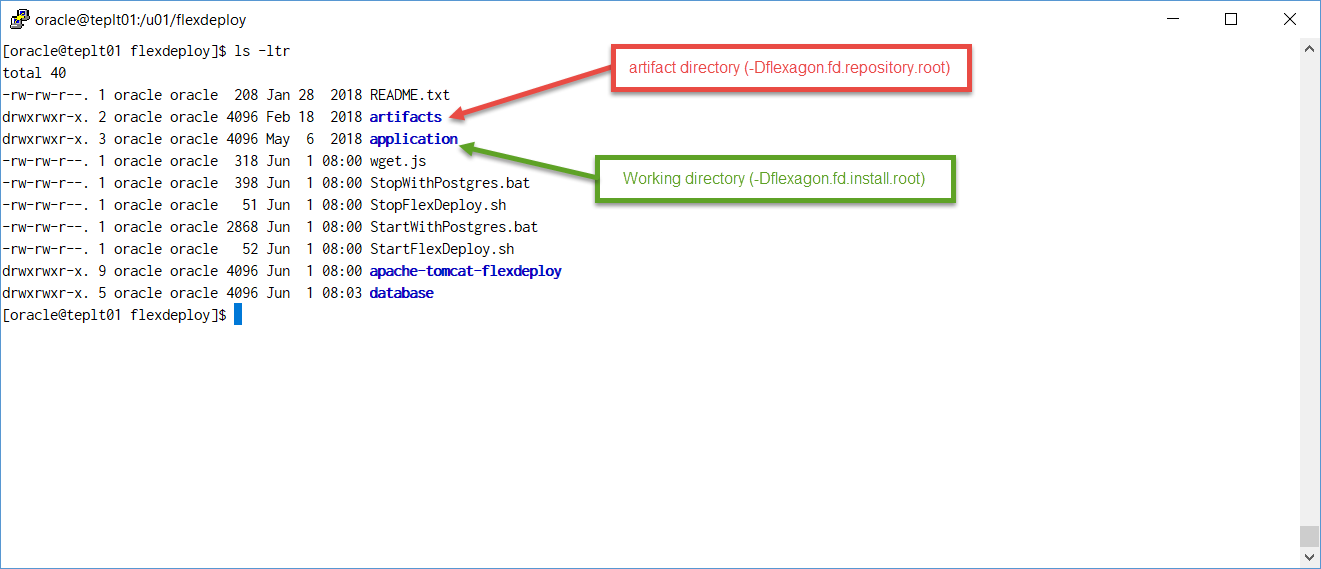
Step 2. Extract the zip file in the desired location (referred to as "FlexDeploy Home" in this document). See example below, where zip was extracted in C:/installsu01/FlexDeploy flexdeploy folder.
| Tip |
|---|
We recommend use of folder structure without any space in name. |
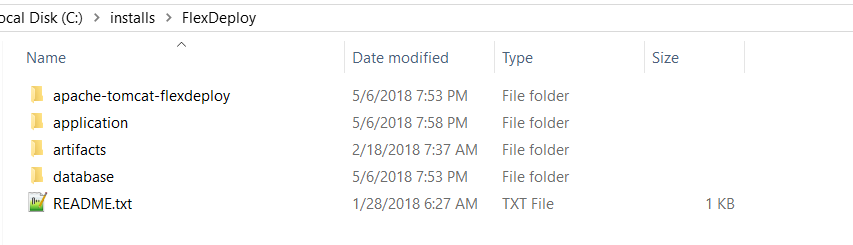
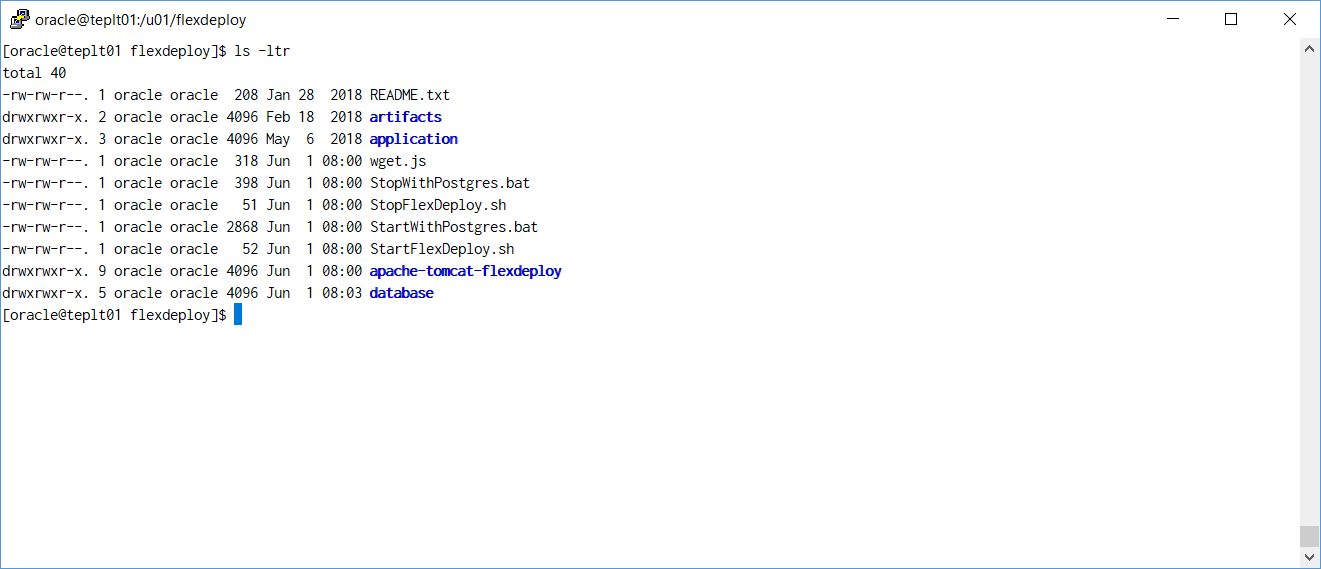
Here is how it will look like after unzip.
Step 3. Setup the database for FlexDeploy, if you not already done so.
...
| Tip | ||
|---|---|---|
| ||
|
...
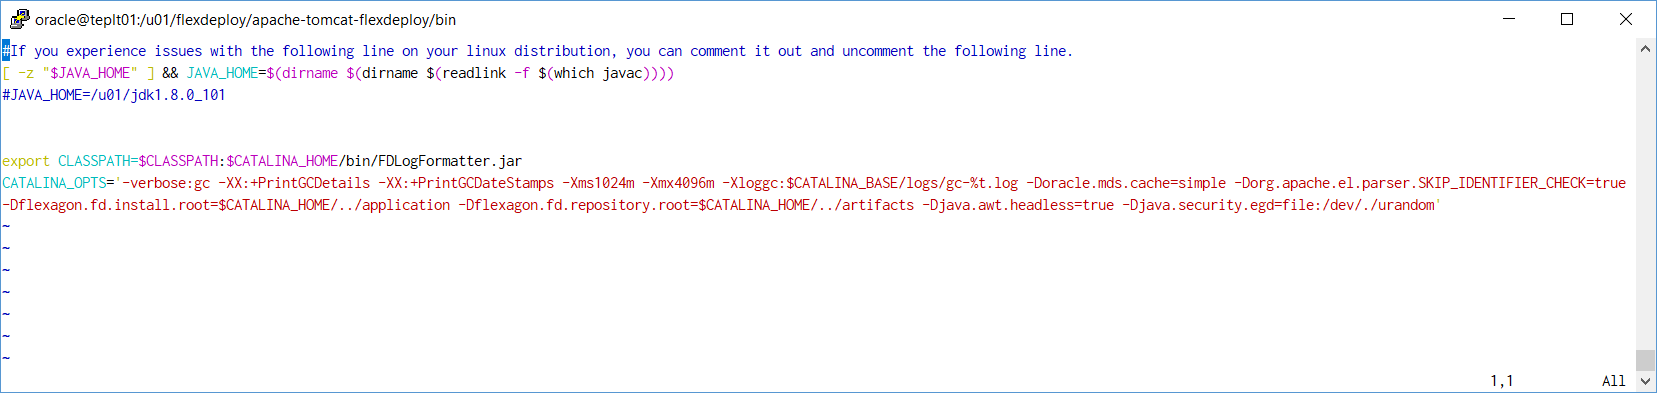
Below are default artifact and working directories created under FlexDeploy Home when you extracted zip file. If you want to use different directories then modify setenv.sh or setenv.bat file, otherwise skip this step.
Default setenv.bat sh is shown below.

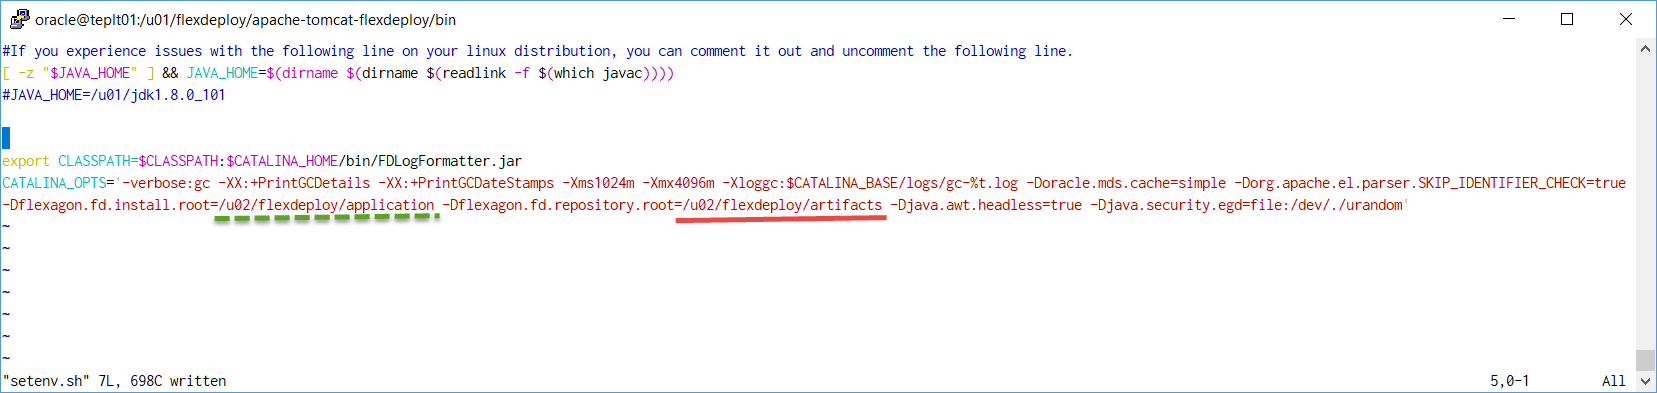
Here is example of setenv.bat sh which is modified to use non-default folders.

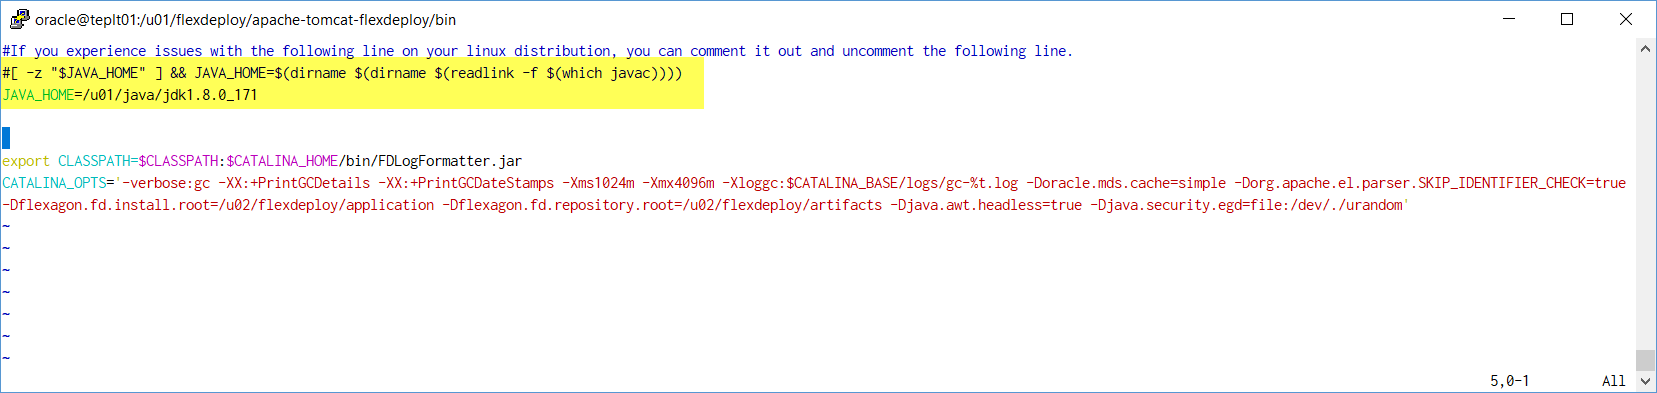
Step 7. (Optional) Modify Tomcat Environment script (setenv.sh or setenv.bat) for JAVA_HOME.
...
If you were also setting JAVA_HOME, this file would look like this.

Step 8. ADF Essentials comes with the JDBC driver for Oracle 11g database (ojdbc6dms.jar). If you are using Oracle 12c database, you can download the driver (ojdbc7.jar) from the Oracle Technology Network site at Oracle 12c drivers. Delete ojdbc6dms.jar from <FlexDeploy Home>/apache-tomcat-flexdeploy/lib and place ojdbc7.jar in that same folder.
...
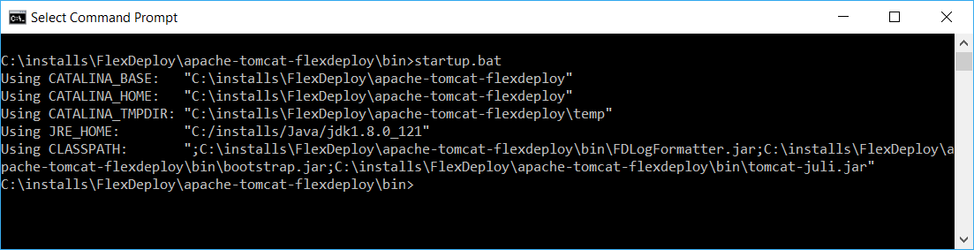
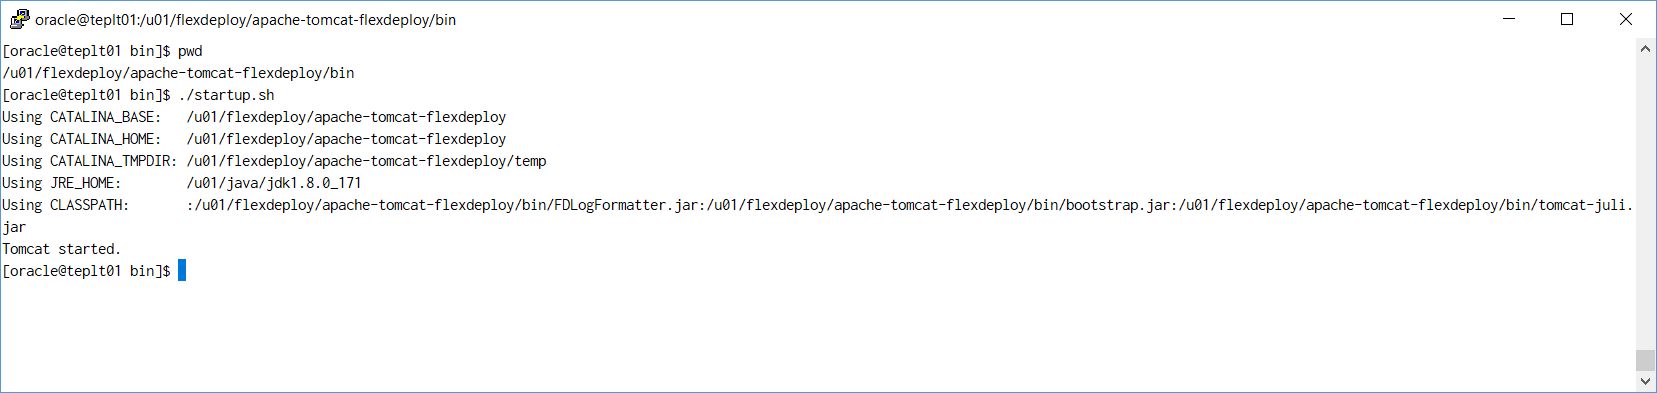
Step 13. Start tomcat by running the following script. Make sure to set JAVA_HOME to JDK 7 or JDK 8 if not already set in your environment.
File - <FlexDeploy Home>/StartFlexDeploy.sh(you can also use startup.sh or startup.bat scripts)
| Note | ||
|---|---|---|
| ||
After starting your server, check the <FlexDeploy Home>/apache-tomcat-flexdeploy/logs/flexdeploy.0.log file for the following error message:
If present, increase the number of processes for the database
|
...