...
- Once the Import process has finished, start the VM.
- This can be done by clicking on the VM and clicking Start on the top bar.
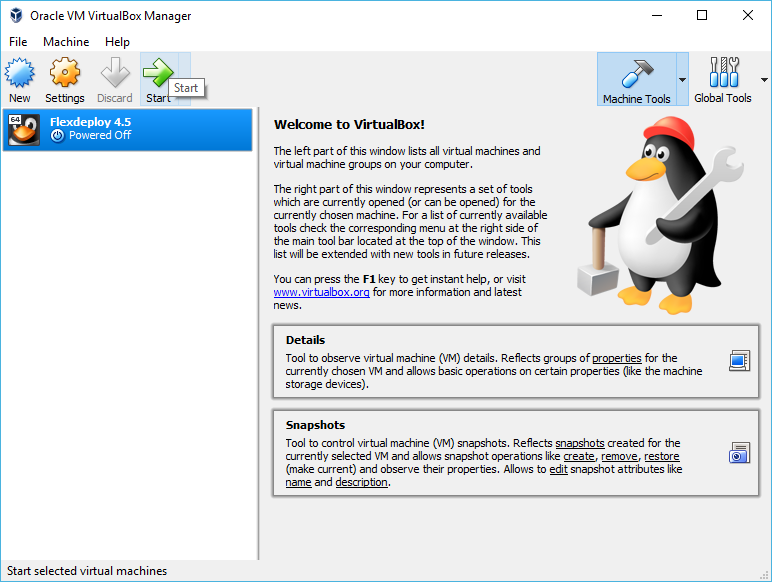
- This can be done by clicking on the VM and clicking Start on the top bar.
Once the virtual machine has started, FlexDeploy tomcat server will also automatically start and you will see screen shown below and you can login using http://localhost:8000/flexdeploy. It takes some time for Tomcat server to start application, so give few minutes before you launch application in browser.
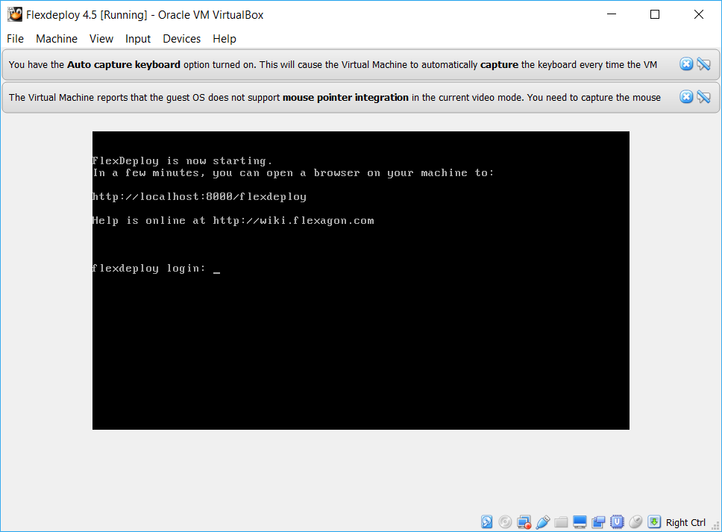
Tip FlexDeploy can be started using start_flexdeploy.sh script as well. Login using flexuser/flexdeploy1 credentials. You can do this on Virtual Box window or using Putty (localhost with port 222).
- After few minutes, Open your browser to http://localhost:8000/flexdeploy. Once FlexDeploy has loaded, you can log in and explore. FlexDeploy User credentials are fdadmin/welcome1.

 You will need to complete Initial Registration process, where you will create admin user for login.
- Now that you have installed FlexDeploy, let's get start with configuration. You can do this in matter of minutes by using Blueprints concept, which is very simple configuration wizard for most common usecases.
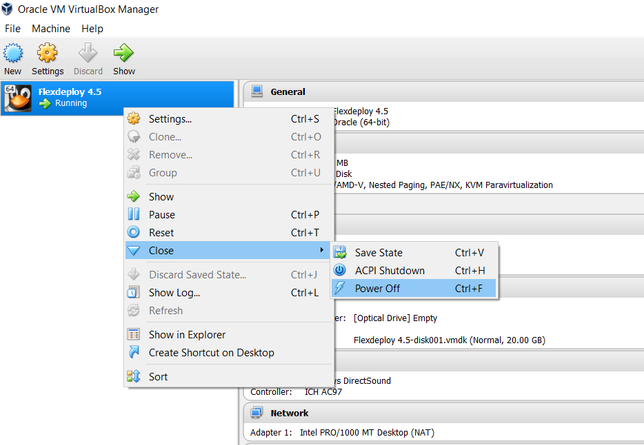
Stopping FlexDeploy VM
- Run stop command.
- Start SSH session on port 222 and login as flexuser.
- cd
- ./stop_flexdeploy.sh
- Power Off VM in VirtualBox Manager.
...