At the completion of this section, you will:
...
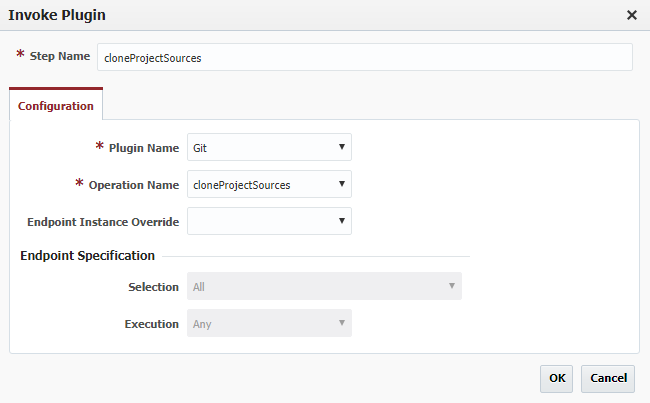
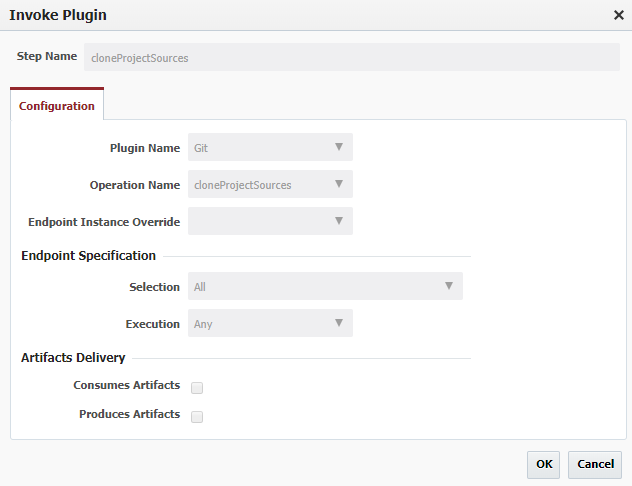
Configure the Git cloneProjectSources operation by adding it to the center pane and the plugin will open for additional configuration. Since this is the cloneProjectSources operation, there is no configuration required and all information will be retrieved from the project. Select OK. Clicking on any component in the workflow will open up the configuration screen for that component, if a change is needed.
| Info |
|---|
GIT was chosen as the Source Code Management tool for this tutorial, however, FlexDeploy supports many other Source Code Management tools and any one can be used in place of GIT. |
...
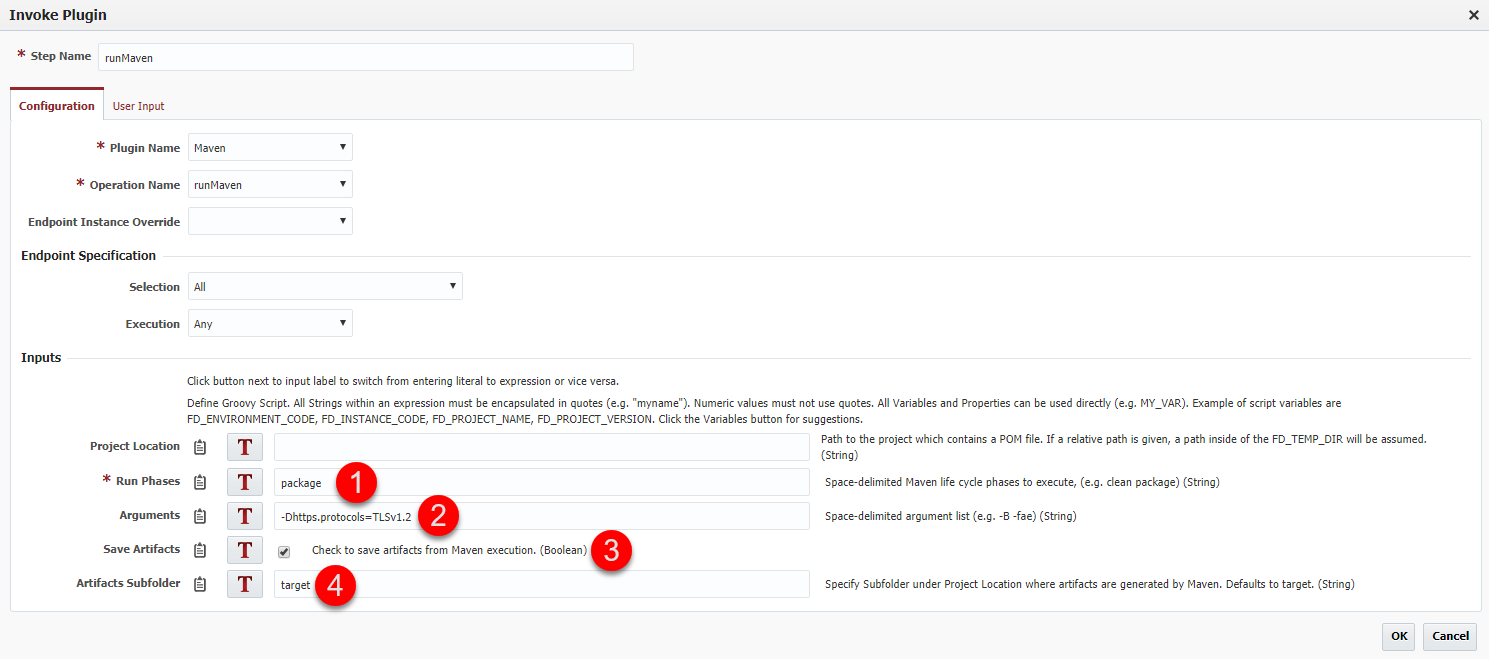
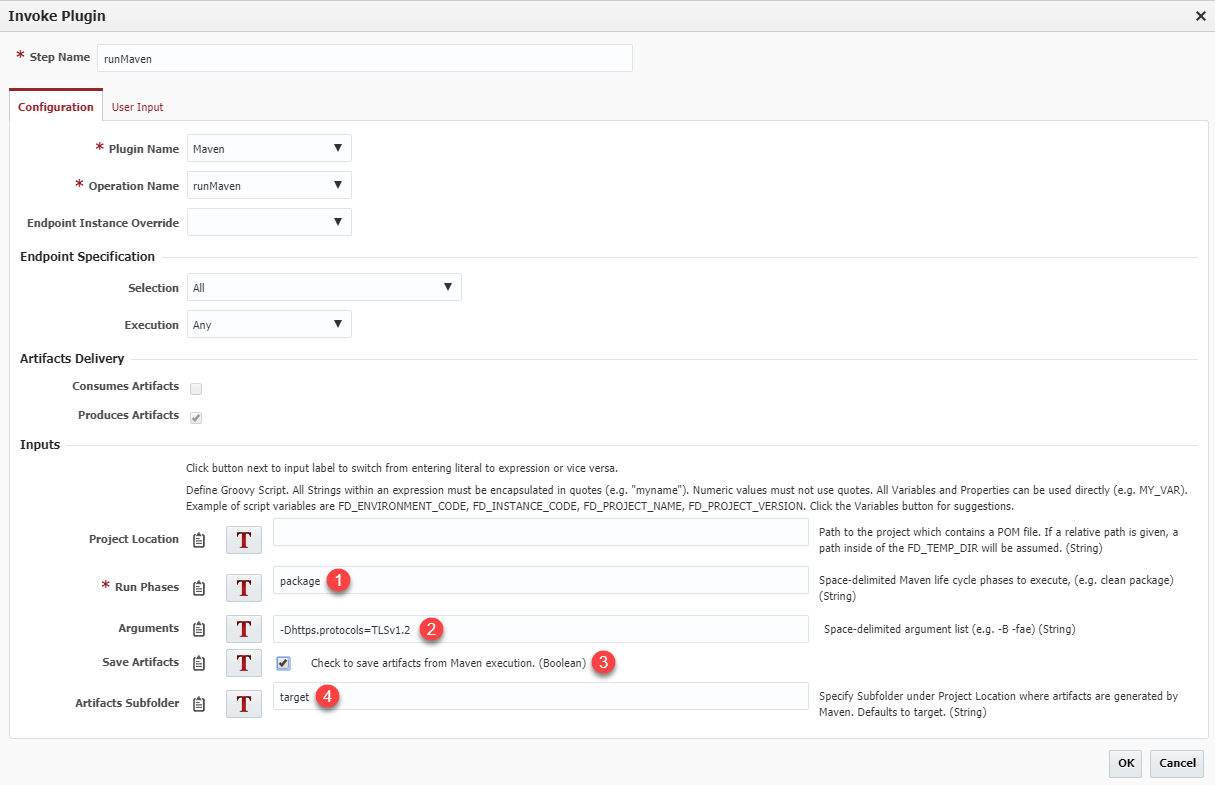
- The runMaven operation requires one or more Run Phases to be specified. Since we want to compile and generate a WAR, we will use the default
packagephase. - The Arguments input is where we can specify any extra arguments we want passed to the
mvncommand. Our endpoint is running Java 7 so we now need to tell Java to use TLS version 1.2, or we won't be allowed to access the Maven Central Repository. To do this we have to add-Dhttps.protocols=TLSv1.2to the Arguments. - The plugin allows us to save artifacts directly to the Artifacts Repository by checking the Save Artifacts option. Checking this will cause the plugin to save all files in the Artifacts Subfolder into the Artifact Repository.
- The Artifacts Subfolder is the folder where Maven will put the packaged WAR, so we're keeping the default value of
target.
The runMaven operation knows where the project was cloned, so the developer doesn't have to worry about the details. At the successful completion of the runMaven operation, a WAR file will be generated as an artifact and will automatically be pulled back to the artifact repository. Select OK.
The plugins are intelligent and eliminate as much development work as possible from the developers. Once the components are added, the workflow needs to be saved and/or activated. Saving the workflow changes will only save the current configuration to the database and is used when the developer may not be quite ready to activate these changes. When the developer wants the changes to be executed by projects, the Activate button must be selected. Once the current version of the workflow is activated, the workflow will be marked as read-only and have a green check mark next to it. Active versions can't be modified and require the developer to select Make Copy. This will create a new version and open that version up for editing, the active version will not be changed.
...
Add the deploy operation of the Tomcat plugin by adding it to the center pane and the plugin will open for additional configuration. This operation requires no configuration on the workflow operation, it will get all of the necessary information from either the Environment Instance (configured later in this tutorial), or by looking it up on the Tomcat server. The operation will automatically have access to the artifact created by the build workflow.
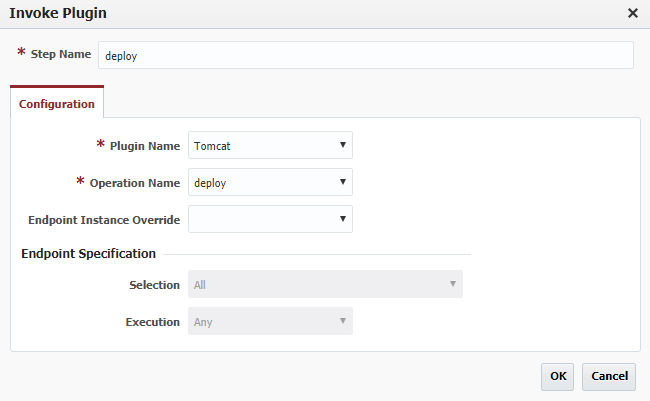
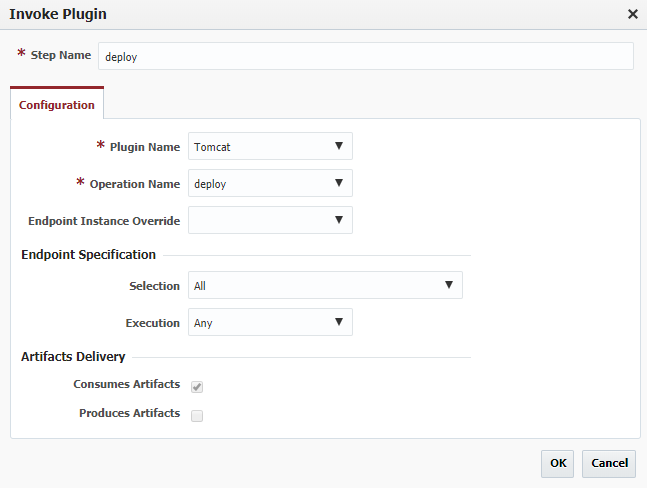
Select OK and Activate the workflow.
...