| Table of Contents | ||
|---|---|---|
|
...
- 1 CPU
- 4 GB RAM
- FlexDeploy 4.5 installed on Tomcat 8.5.15
- Oracle XE database with FlexDeploy 4.5 schemas installed
- Two Tomcat 8.5.15 servers for deploying sample applications
- Apache JMeter for unit testing sample applications
- Connection to GitHub repository containing sample source code
Importing VM Appliance
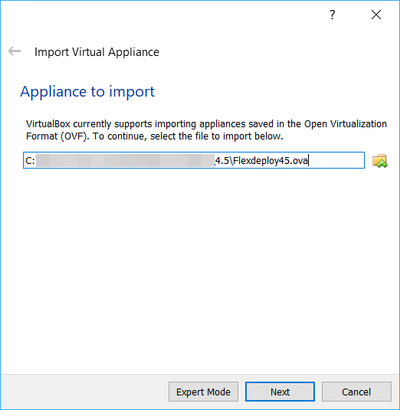
These The steps are for shown use Oracle VM VirtualBox for the Host, but there are other options. Feel free to use any host capable of importing OVA images. You may need to unzip the file you downloaded before you are able to import it.
- Open VirtualBox.
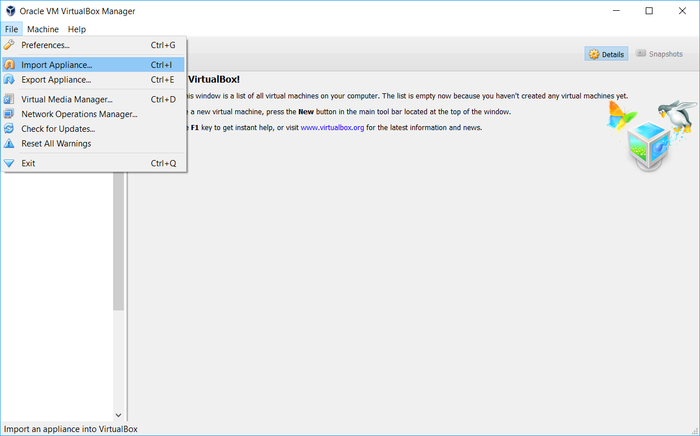
- Click File - Import Appliance.
- Select the VM image (.ova file), Click Next.
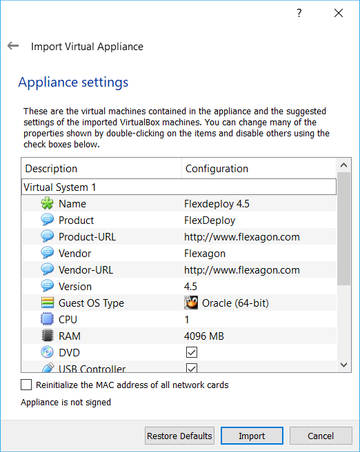
- Click Import
- It is here where settings can be adjusted, you can change the VM name or give it more CPU, etc
- If Memory is reduced below 3 GB, the VM will not work correctly
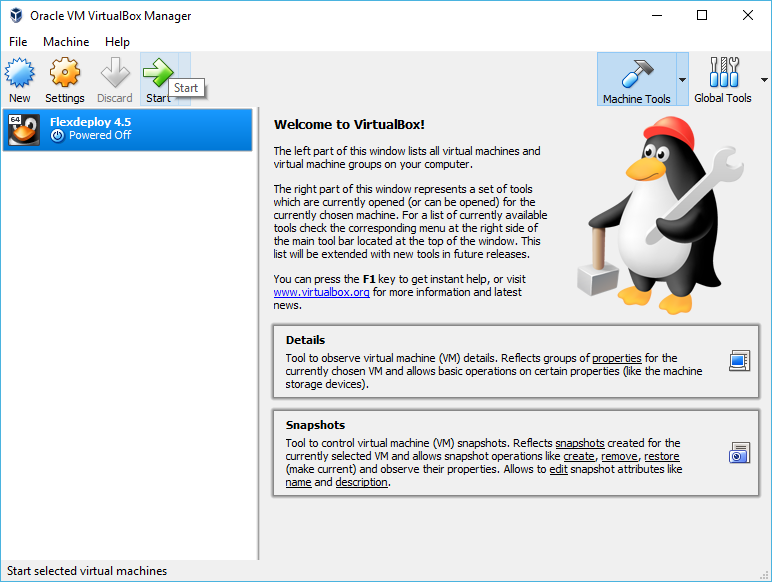
Starting FlexDeploy VM
- Once the Import process has finished, start the VM.
- This can be done by clicking on the VM and clicking Start on the top bar.
- Once the system virtual machine has started, FlexDeploy will automatically start.
- If you want, you can login as flexuser/flexdeploy1. You can login using putty as well, just use port 222.

- To start FlexDeploy, use the start command: ./start_flexdeploy.sh
- Because the database can take some time to initialize there may be a small delay, the startup script will let to you know it's waiting to connect


- Because the database can take some time to initialize there may be a small delay, the startup script will let to you know it's waiting to connect
- If you want, you can login as flexuser/flexdeploy1. You can login using putty as well, just use port 222.
- In a minute or two, Open your browser to http://localhost:8000/flexdeploy.
- Once FlexDeploy has loaded, you can log in and explore. FlexDeploy User credentials are fdadmin/welcome1.


...