FlexDeploy provides a zip file distribution for Tomcat which simplifies the installation process. This distribution contains Tomcat, the FlexDeploy WAR, and the base configurations, leaving only a few simple steps to complete the install. The distribution contains the following components.
- A tomcat 8.5.11 server with required libraries, and base configurations
- The FlexDeploy WAR
- The FlexDeploy database installation scripts
- The FlexDeploy plugins
Requirements
- Windows Operating System
- 8GB of RAM
- 1 CPU
- At least 20GB 10GB of available space, may need additional space based on purge criteria and usage.
- 64 bit Java 7 or 8 JDK which can be downloaded from http://www.oracle.com/technetwork/java/javase/downloads/jdk8-downloads-2133151.html. (Open JDK 8 is also fine)
- Optional - consider Java Cryptography Extension (JCE) unlimited strength policy files to avoid SSH issues when using strong ciphers.
| Info |
|---|
This distribution requires an Internet connection the first time that you run it. |
...
About 200 MB will be downloaded the first time. This method of launching FlexDeploy will also download and install PostgreSQL and setup the database connection to it. If that isn't what you want to do, look at a different install guide instead. |
4 steps to running FlexDeploy with embedded database
Step 1. Ensure Java 8 64 bit is installed on the servercomputer.
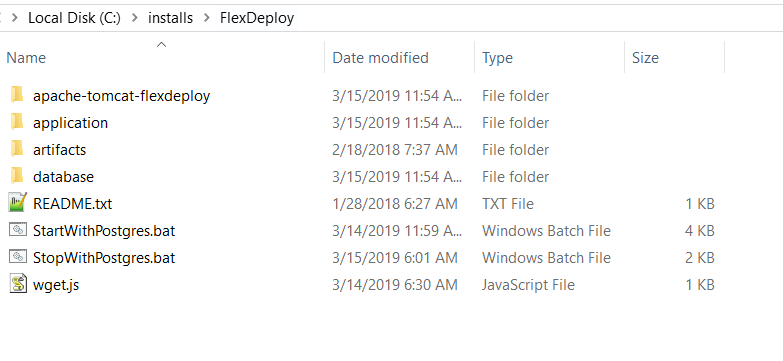
Step 2. Extract the zip file in to the desired location (referred to as "FlexDeploy Home" in this document). See example below, where zip was extracted in C:/\installs/\FlexDeploy folder.
| Tip |
|---|
We recommend use of folder structure without any space in name. |
Step 3
...
. Start tomcat by running the following script. (Double click on it, or run it from a command window)
File - <FlexDeploy Home>/StartWithPostgres.bat
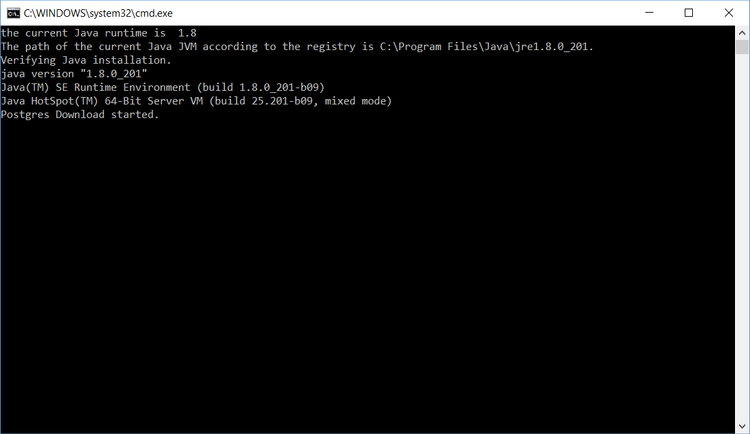
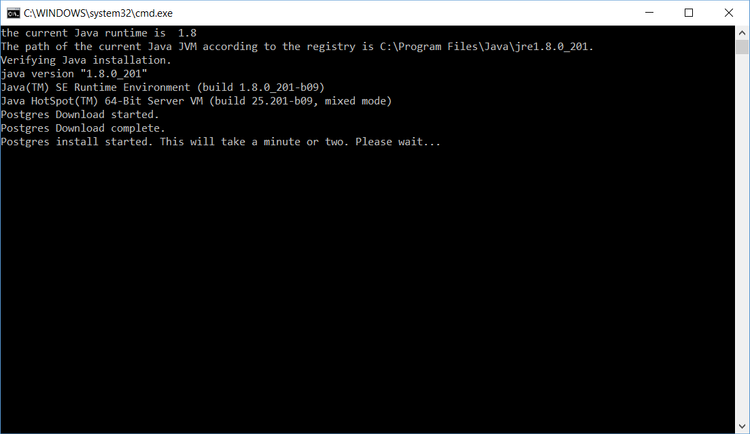
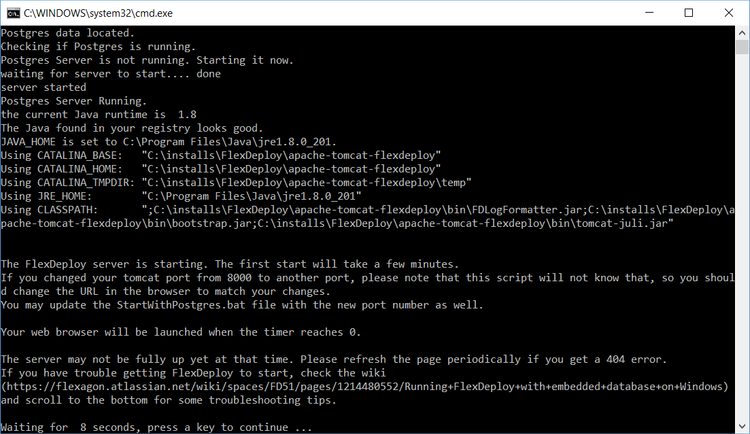
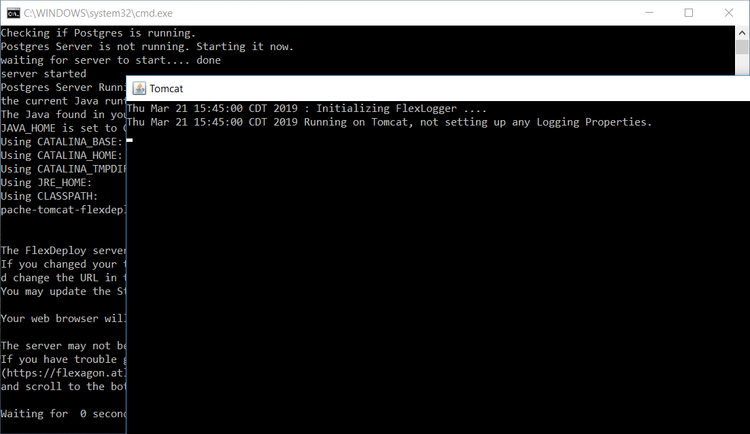
When you run this for first time, it will download & install PostgreSQL database, then create FlexDeploy schema in it. Here are some screen shots to show progress of first execution of StartWithPostgres.bat.
You will also see Tomcat process window when Tomcat is started.
Step 4. FlexDeploy will automatically launch in your default browser (http://localhost:8000/flexdeploy). (It will take about 3-5 minutes the first start due to initial data load)
You will need to complete the Initial Registration process, where you will create admin user for login.
If FlexDeploy doesn't appear after a few minutes, here are some troubleshooting tips:
- Logs are located at <FlexDeploy Home>/apache-tomcat-flexdeploy/
...
- logs
- Usually opening flexdeploy.0.log is the best way to find the problem. The most common problem is that a port that Tomcat wants to use is already in use.
- By default, the Tomcat server is configured to run on port 8000. If this port is in use, change to some other unused port. Search for <Connector port="8000" protocol=" HTTP
- dHTTP/1.1" if
- , if you want to change it...
- Edit the file at <FlexDeploy Home>/apache-tomcat-flexdeploy/conf/server.xml
- There are other ports referenced in the server.xml file as well. If the logs contain a port in use error, you can find the open ports on your machine and then search this file for ports that you find are in use and change them
.
...
- .
- If the logs folder doesn't have any useful information, and you aren't sure what else to try, use a command window and go to the bin folder. Then execute the command "catalina.bat run" A better error message should be shown.
- If you still aren't sure what to do, email us at our support site, support@flexagon.com
If you get any Java related errors, verify that you have Java 7 or 8 64 bit installed. If troubles persist, modify theTomcat Environment script setenv.bat for JAVA_HOME.
...
<FlexDeploy Home>/apache-tomcat-flexdeploy/bin/setenv.bat
...
| Tip |
|---|
Even when JAVA_HOME is already set in your environment, it would be a good idea to set it in setenv.bat. For example - set JAVA_HOME=c:/installs/Java/jdk1.8.0_121 |
This file would look something like this.
Step 5. Start tomcat by running the following script.
File - <FlexDeploy Home>/StartWithPostgres.bat
Step 6. Launch FlexDeploy in your browser.
- http://hostname:8000/flexdeploy
- Update hostname in URL to indicate host where FlexDeploy is installed.
- Update port if you had modified server.xml for different port number.
- You will need to complete Initial Registration process, where you will create admin user for login.
...
