...
- After uploading the FlexDeploy Jenkins Plugin to FlexDeploy, go to your Environment/Instance configuration for the Environment and Instance you plan to run this plugin in. You should see a page like this:
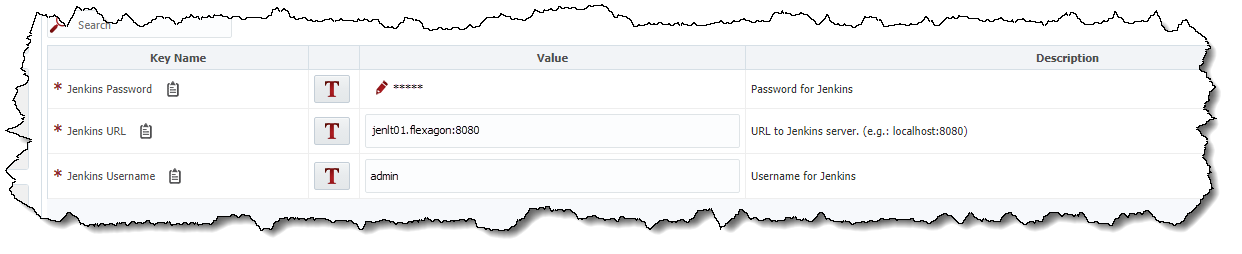
- Jenkins Username - The username to connect to Jenkins as.
- Jenkins Password - The password for the Jenkins User
- Jenkins URL - The URL of the Jenkins server to connect to.
- Once your Environment/Instance is configured, you're ready to use the Jenkins Plugin in a workflow. Create a new workflow for your project to use, and add the
retrieveArtifactsstep from the Jenkins Plugin.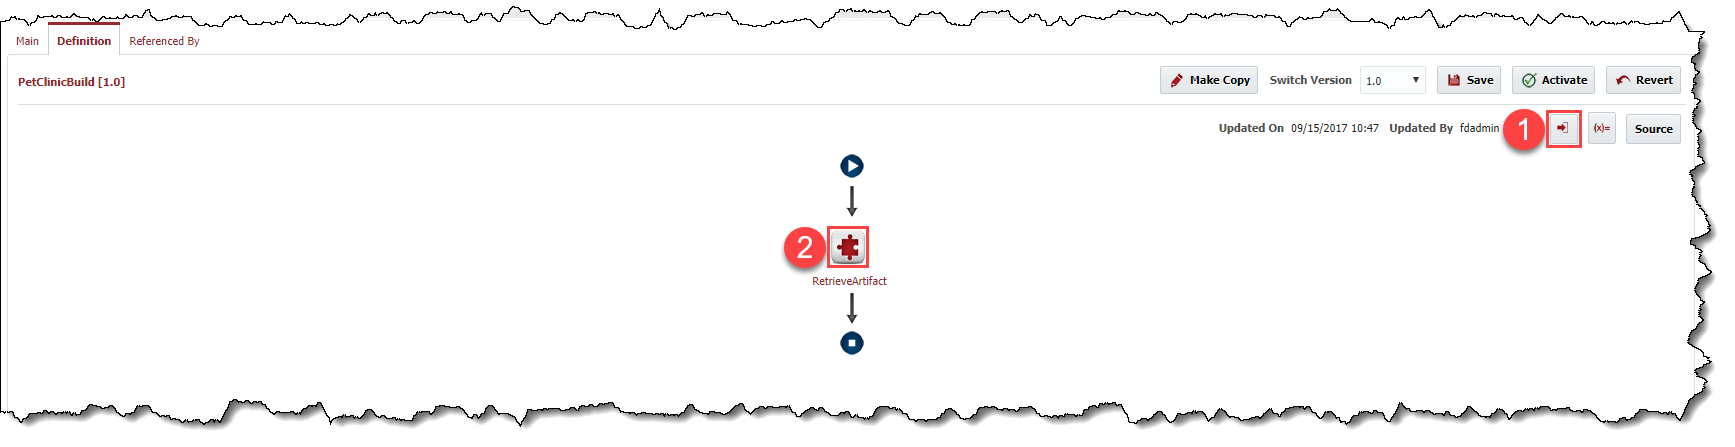
- Create a workflow input called
inpBuildNumber.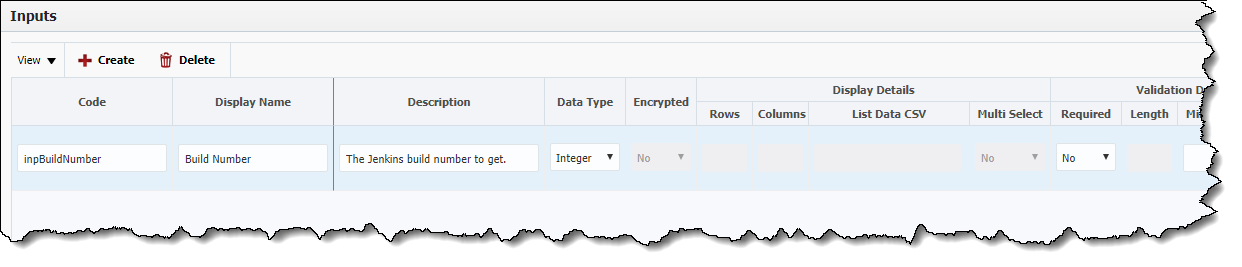
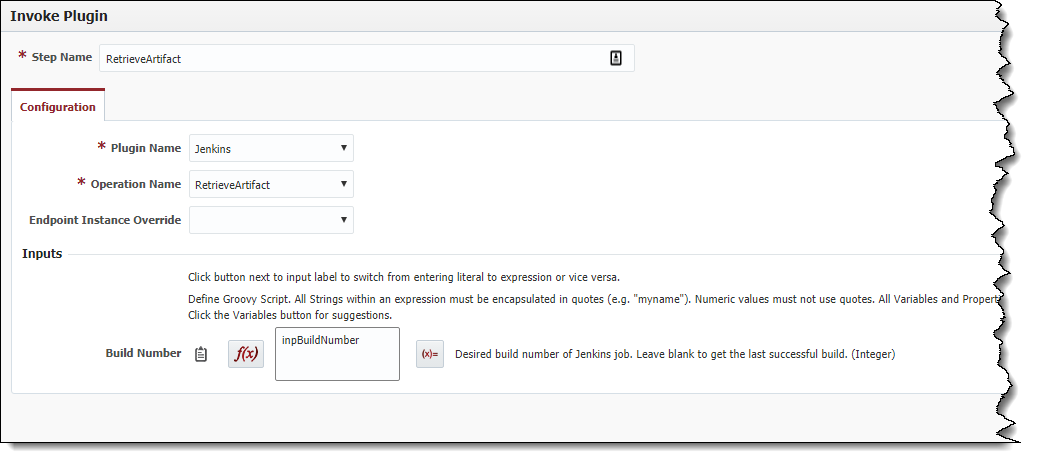
- Drag in the plugin step, change the input type to script, and enter the name of the input we just created.
- Create a workflow input called
Now, create the FlexDeploy project that Jenkins will execute. Once you choose the build workflow we just created, you should be able to see a project property called Jenkins Job Name. Enter the name of your Jenkins job/project here.

Info It's generally best practice to give the project in FlexDeploy the same name as the project in Jenkins. This way, we can simply use the
FD_PROJECT_NAMEvariable to minimize the potential for project misconfiguration.Once you've configured the workflow and the project property, you should be set up to do a builduse a Jenkins artifact in FlexDeploy!
Info If you want to use FlexDeploy to deploy an artifact built in Jenkins, simply set up a Post Build Trigger on your FlexDeploy project, and choose the Environment and Stream Name that you're using from Jenkins, then configure a deploy workflow to deploy an artifact from the FlexDeploy Artifact Repository.
Expand 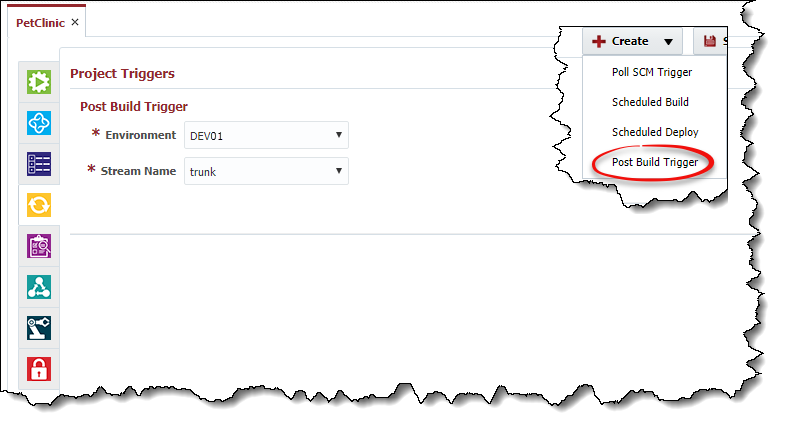
...