...
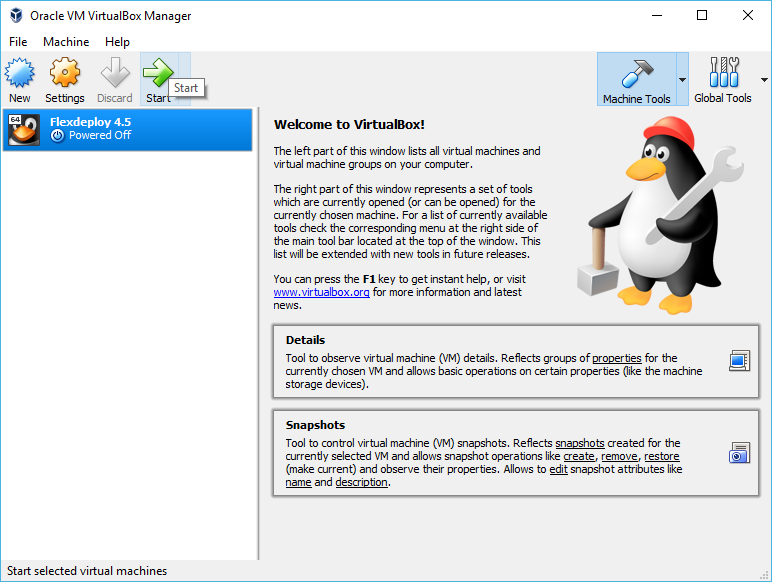
- Once the Import process has finished, start the VM.
- This can be done by clicking on the VM and clicking Start on the top bar.
- This can be done by clicking on the VM and clicking Start on the top bar.
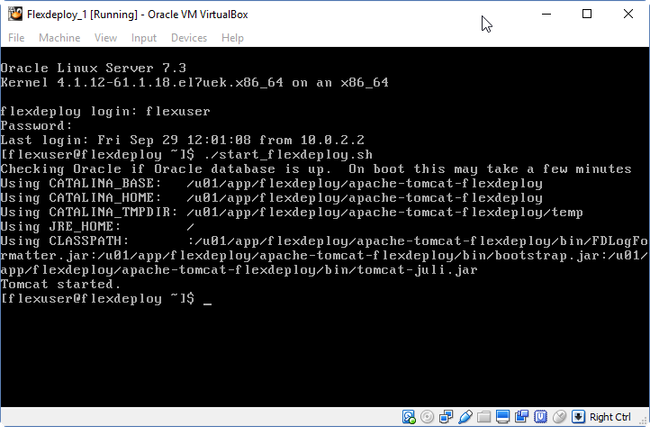
Once the virtual machine has started, FlexDeploy tomcat server will also automatically start and you will see screen shown below and you can login using http://localhost:8000/flexdeploy.
If you do not see the message indicating that FlexDeploy is starting then you will have to start it as described in #a below.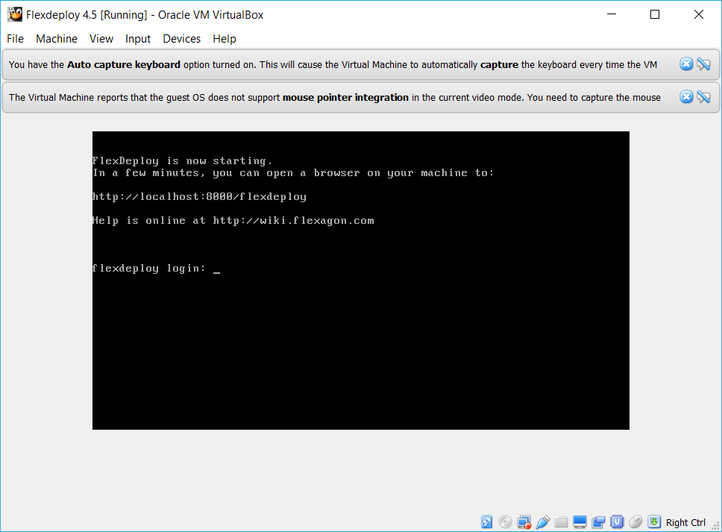 If you are using previous version(s) of VM (screen shown above does not show up) then you can start FlexDeploy using steps described below.You can login as flexuser/flexdeploy1
 It takes some time for Tomcat server to start application, so give few minutes before you launch application in browser.
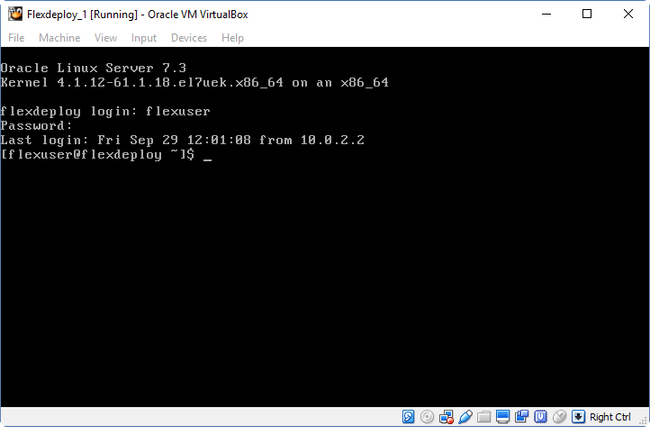
you can login using putty as well, just useTip FlexDeploy can be started using start_flexdeploy.sh script as well. Login using flexuser/flexdeploy1 credentials. You can do this on Virtual Box window or
.To start FlexDeploy, use the start command: ./start_flexdeploy.sh. Because the database can take some time to initialize there may be a small delay, the startup script will let to you know it's waiting to connect.using Putty (localhost with port 222
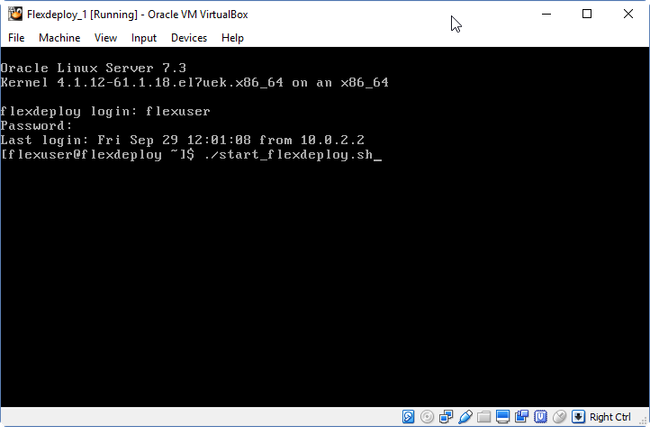
 In a minute or two
).
- After few minutes, Open your browser to http://localhost:8000/flexdeploy.
- Once FlexDeploy has loaded, you can log in and explore. FlexDeploy User credentials are fdadmin/welcome1.


Stopping FlexDeploy VM
- Run stop command.
- Start SSH session on port 222 and login as flexuser.
- cd
- ./stop_flexdeploy.sh
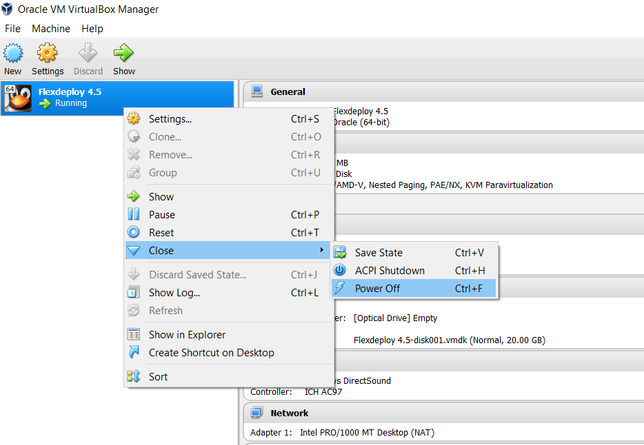
- Power Off VM in VirtualBox Manager.
...