FlexDeploy provides a file distribution for Tomcat which simplifies the installation process. This distribution contains Tomcat, the FlexDeploy WAR, and the base configurations, leaving only a few simple steps to complete the install. The distribution contains the following components.
...
Installation Instructions
Adjust for Windows path if you are installing on Windows platform.
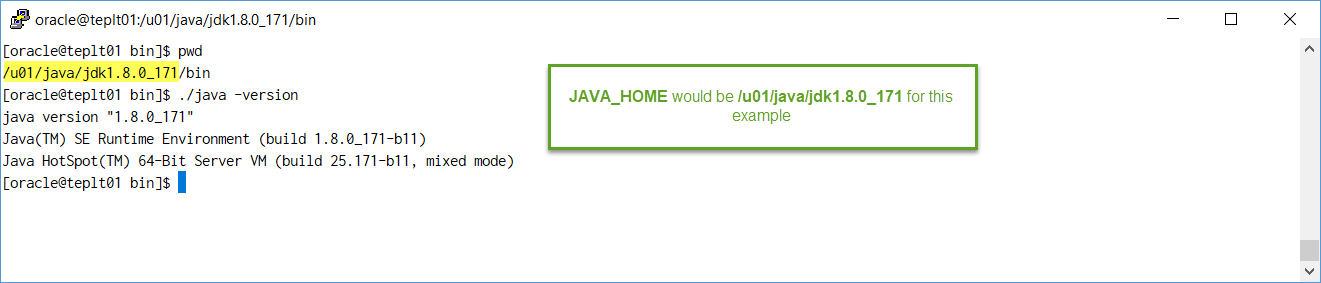
Step 1. Ensure Java 8 is installed on the server.
In this example, JAVA_HOME is /u01/java/jdk1.8.0_171 but it can be anything you want. If default java is not version 8, then we will need to adjust for it during Step 7 later.
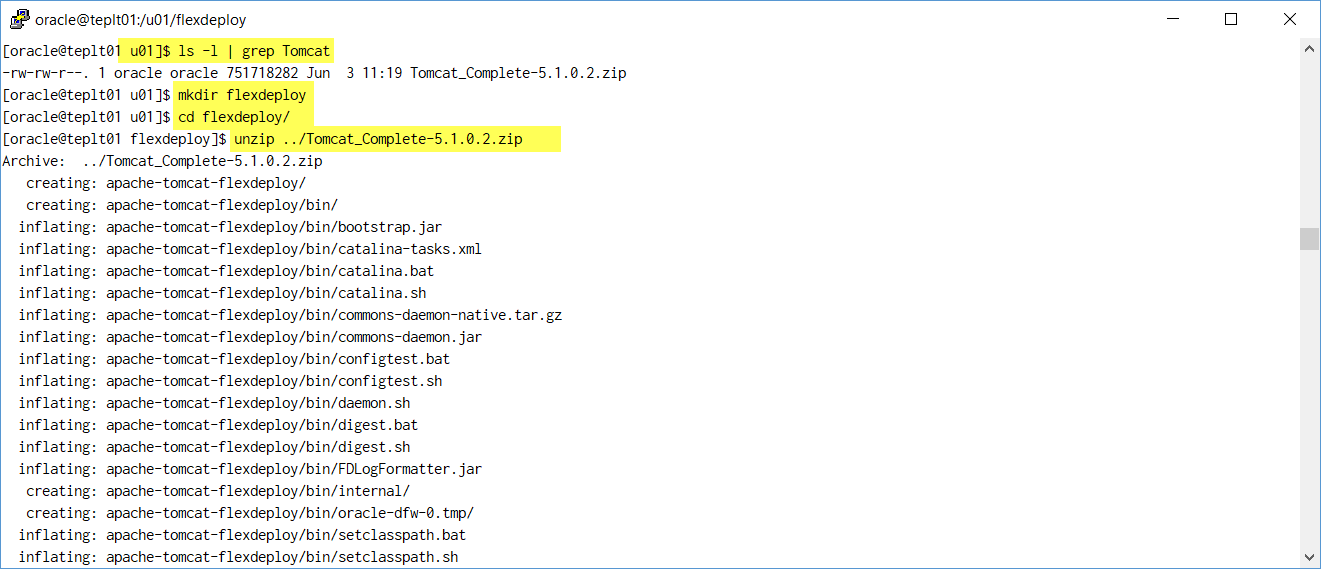
Step 2. Extract the zip file in the desired location (referred to as "FlexDeploy Home" in this document). See example below, where zip was extracted in C:/installsu01/FlexDeploy flexdeploy folder.
| Tip |
|---|
We recommend use of folder structure without any space in name. |
...
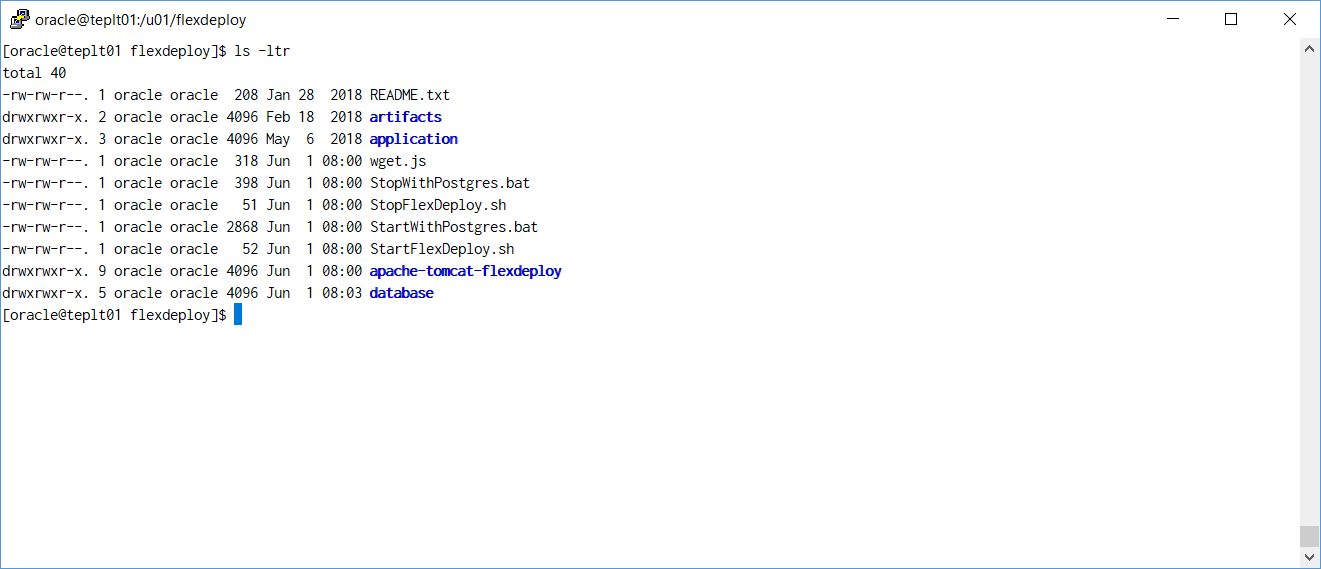
Here is how it will look like after unzip.
Step 3. Setup the database for FlexDeploy, if you not already done so.
...
| Note | ||
|---|---|---|
| ||
After starting your server, check the <FlexDeploy Home>/apache-tomcat-flexdeploy/logs/flexdeploy.0.log file for the following error message:
If present, increase the number of processes for the database
|
...