...
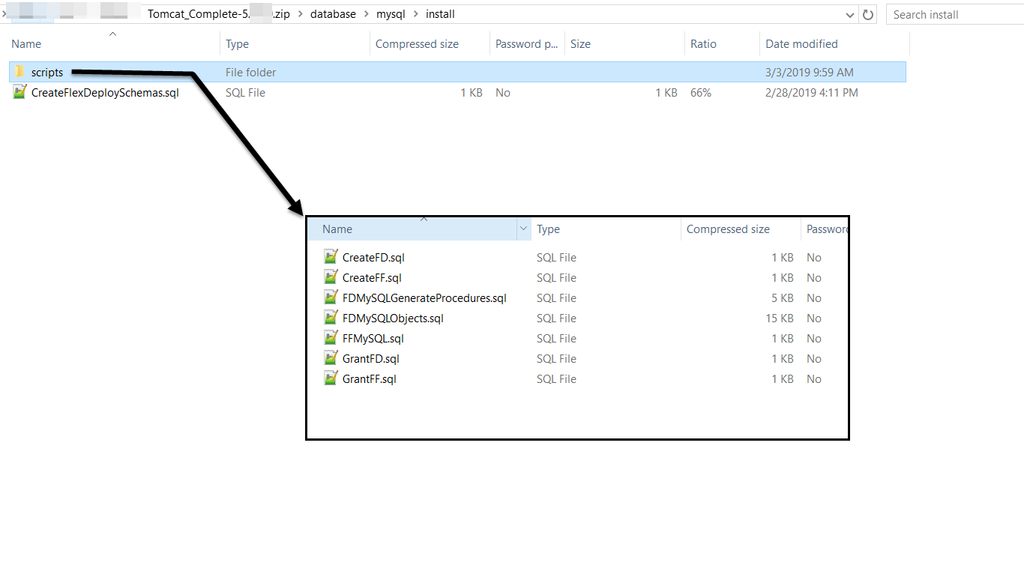
FlexDeploy uses three databases (FD, FF, and FD_ADMIN) and performs all work using the FD_ADMIN user. Run database scripts from where you extracted downloaded FlexDeploy zip file. Navigate to the /database/mysql/install directory.
Step 1. You should set the FD_ADMIN password before running the scripts.
Open the file <Unzip Folder>/database/mysql/install/scripts/CreateFD.sql
Edit the line:
...
CREATE USER 'FD_ADMIN'@'%' IDENTIFIED BY 'welcome1' so that it has a new password in it.
| Tip |
|---|
You should record the FD_ADMIN password, as that will be used in configuration of data source on application server. |
Step 2. Install MySQL database, if you have done that already. Follow guidelines for your platform as documented in MySQL documentation.
Step 3. Create FlexDeploy schema objects.
- Open a command prompt or putty window
...
- to the <Unzip Folder>/database/mysql/install folder, launch mysql (use full path if not available on PATH environment)
- Run using a username
...
- with privileges to login from the host that you are running the commands from and to create users and objects.
- Change the bold text as needed in your environment.
- Run the appropriate command below.
| Tip |
|---|
You should record the FD_ADMIN password, which you modified in CreateFD.sql file. |
Linux
- Type the password when asked. MySQLDDL.txt records the output of the script so that you can refer back to it later.
...
- cd <Unzip Folder>/database/mysql/install
- /path/to/mysql -u username -h hostname --port=3306 -p < CreateFlexDeploySchemas.sql > MySQLDDL.txt
Windows
- Type the password when asked. MySQLDDL.txt records the output of the script so that you can refer back to it later.
- cd <Unzip Folder>/database/mysql/install
- "C:\path to\mysql" -u username -h hostname --port=3306 -p < CreateFlexDeploySchemas.sql > MySQLDDL.txt